Navigating a Generational Digital Skills Crisis
Digital transformation has forced unprecedented change in all aspects of our lives, yet digital literacy has remained at best an afterthought in education even as education systems across the world embrace mandatory eLearning and place students in online learning environments from the earliest grades. Our failure to recognize digital fluency as a foundational skillset has resulted in generational global digital skills crisis demonstrating shocking digital habits that are the main cause of an epidemic of cybersecurity breaches. Hiding cyber in a technical bubble is probably both a reaction and the result of this mess.
WEF’s opening remarks in the Unpacking Cyber Resilience white paper describe an expansion of cyber awareness using business language that many educators will use to say, ‘that’s not our job!’ (i.e.: training students for workplace readiness), but this digital illiteracy also damages our democracies by destroying our trust in institutions, creating disinformation echo-chambers that erode public discourse and also preventing us from accessing trustworthy news sources. Surely some of that is the job of public education?
“The digital transformation continuously reshapes and evolves businesses and governments. The primary goals and objectives of organizations are often supported by business processes that are critically reliant on digital technology, commonly without any analogue alternatives. While primary goals and objectives will differ between organizations, they will always include the protection of critical service delivery, stakeholder confidence and the principle assets that underpin value and position in the market. Achieving true cyber resilience is fundamentally a leadership issue, and is paramount to retaining shareholder value.”
– Executive Summary, Unpacking Cyber Resilience
Those ‘business processes’ underlie all aspects of modern life, including those in education. School boards call their operational network domains ‘corporate’ because it’s lifted from the same digital systems that support business and government. Educational operations aren’t digitally distinct from those in the public and private sectors, they’re the same technologies but with higher security needs because they collect the data of minors (and their families) on a massive scale. Putting employees and students onto these systems without teaching them fundamental digital literacy is akin to putting them in a car and hoping they’ll drive it without having an accident.
WEF’s efforts to reframe cybersecurity are important because there aren’t many aspects of our lives left that are independent from networked information technology. This dependence is absolute because the analogue processes that proceeded digitization have been jettisoned with a promise of cost savings. We live in a world run on ICT where almost no one understands ICT.
Cybersecurity is a particularly difficult nut to crack because it is an interdisciplinary field of study that exists within a larger framework of digital expertise that very few people possess. Cyber also suffers from being the edge of digital where zero days and emerging technologies can have devastating impact. Instead of building stable systems that then change slowly over time, cyber stares into the edge case abyss where you not only need deep digital fluency but also a willingness to step into the unknown.
 |
| If we address digital skills at all in education it tends to be a rote coding plug-and-play edtech solution. This one and done approach fails to recognize the complexity of digital literacy. |
The Evolution of Digital Information Security
The idea that ‘cybersecurity’ was the final conception of this rapidly evolving field demonstrates a lack of understanding both in how new it is and how quickly its scope is changing. For a long time the cool kids on the West Coast hated the term cyber and created a lot of political tension in a field that was barely conceptualized. You know you’re in trouble when the people doing the thing can’t even agree on what to call it. If you take a step back and look at how things have evolved over the past four decades you begin to see the broad strokes of digital information security:
 |
| For many even what to call cybersecurity was a sticking point. The good news is that if you don’t like it now, it’s already moving on. From WEF’s Unpacking Cyber Resilience. |
One of my favourite early graphics pushing back against the framing of cybersecurity as a purely technical field of study was this one:
Not because it’s complete, but because it reframes cybersecurity in a multi-dimensional manner. Through my coaching of student teams in cybersecurity I’ve found that a mix of talents is much more effective than a group of identical ‘head-in-the-machine’ types deep diving the technical. That skillset in cybersecurity could be parallelled by a lawyer or surgeon who is doing the point work but is surrounded by specialists with varying skillsets that allow the technical resolution of problems to happen. Can you imagine someone saying that the only people in the medical professions are surgeons, or the only legal professionals are lawyers? These more mature disciplines have a wider understanding of what’s necessary to do the work. Clinging to this lone haxor fixation has been one of the mechanisms used to keep cyber a male dominated profession for far too long.
You need team members with organization and communication skills or the technical discoveries get fumbled between detection and response. You also need researchers and admin who understand what everyone is doing so that they can provide resources where needed. Those skillsets are essential to a cybersecurity operation, even a predominantly technical one, but the world of digital information security has expanded far beyond even that scope.
I wrote about this a year ago in a Cybersecurity Secret Sauce post. At that point I was still arguing for better technical training in cyber, but that’s the tip of a digital skills iceberg that leans on abilities often ignored in STEM education. The creativity and self-direction demanded by the edge-case nature of cybersecurity is more often found in the arts. My strongest cybersecurity teams included a mix of students from a variety of disciplines, and the very best were also wildly neuro-diverse. Reframing the field to cyber resilience opens the door to those alternative and much needed talents.
Considerations of inclusion are often framed as charitable, but in this case diversity was a genuine performance enhancer, especially once I could convince non-technical students that they had a place on a national championship bound cybersecurity team. STEM education does a great job of selecting out creative thinkers early on. Hopefully reframing to cyber resilience ends this gatekeeping.
Cyber Resilience Reframing Digital Information Security
Multidisciplinary collaboration is a force multiplier well beyond blue teams doing competitive defensive work in capture the flag exercises. I should add here that no one should avoid a hackathon or cyber-defence competition because they are afraid they don’t have the hands-on technical skills to do the hacking for a couple of reasons:
1) The detective process for determining damage from a cyberattack is remarkably intuitive and the best way to learn it is to watch someone who has developed this intuition display it.
2) If you have half a dozen haxors all digging into a hacked system and attempting repairs at the same time you have chaos, so it’s typical to have one operator in the system while others support them. Again, think of the operator as a surgeon with a team of supporting talents around them and you begin to see how even technical cyber needs diversity.
Even in technical cybersecurity team based/complimentary skillsets are the norm. Attempting to solve the global cybersecurity skills gap by minting as many hands on cyber-operators as you can misunderstands the needs of the field, especially with the onset of AI automating basic tasks.
Cyber resilience recognizes the diversity of expertise needed to create functional digital information security. Another example of this expansion is in international collaboration. You can’t work across languages and cultures without being eye to eye on the technical aspects. The work I’ve done this fall around cyber diplomacy both in DC and the DR have shed light on this emerging field and the importance of us understanding the same terminology. You’d think this is how things are done but training is often rolled out by insular regional interests who (incredibly) often lack an understanding of the subject and don’t give much thought to national let alone international collaboration. You can’t work together defending against cyber attacks when you don’t share common understandings. The work Global Affairs Canada has done in providing internationally recognized industry certifications for developing countries is a great example of this in action.
 |
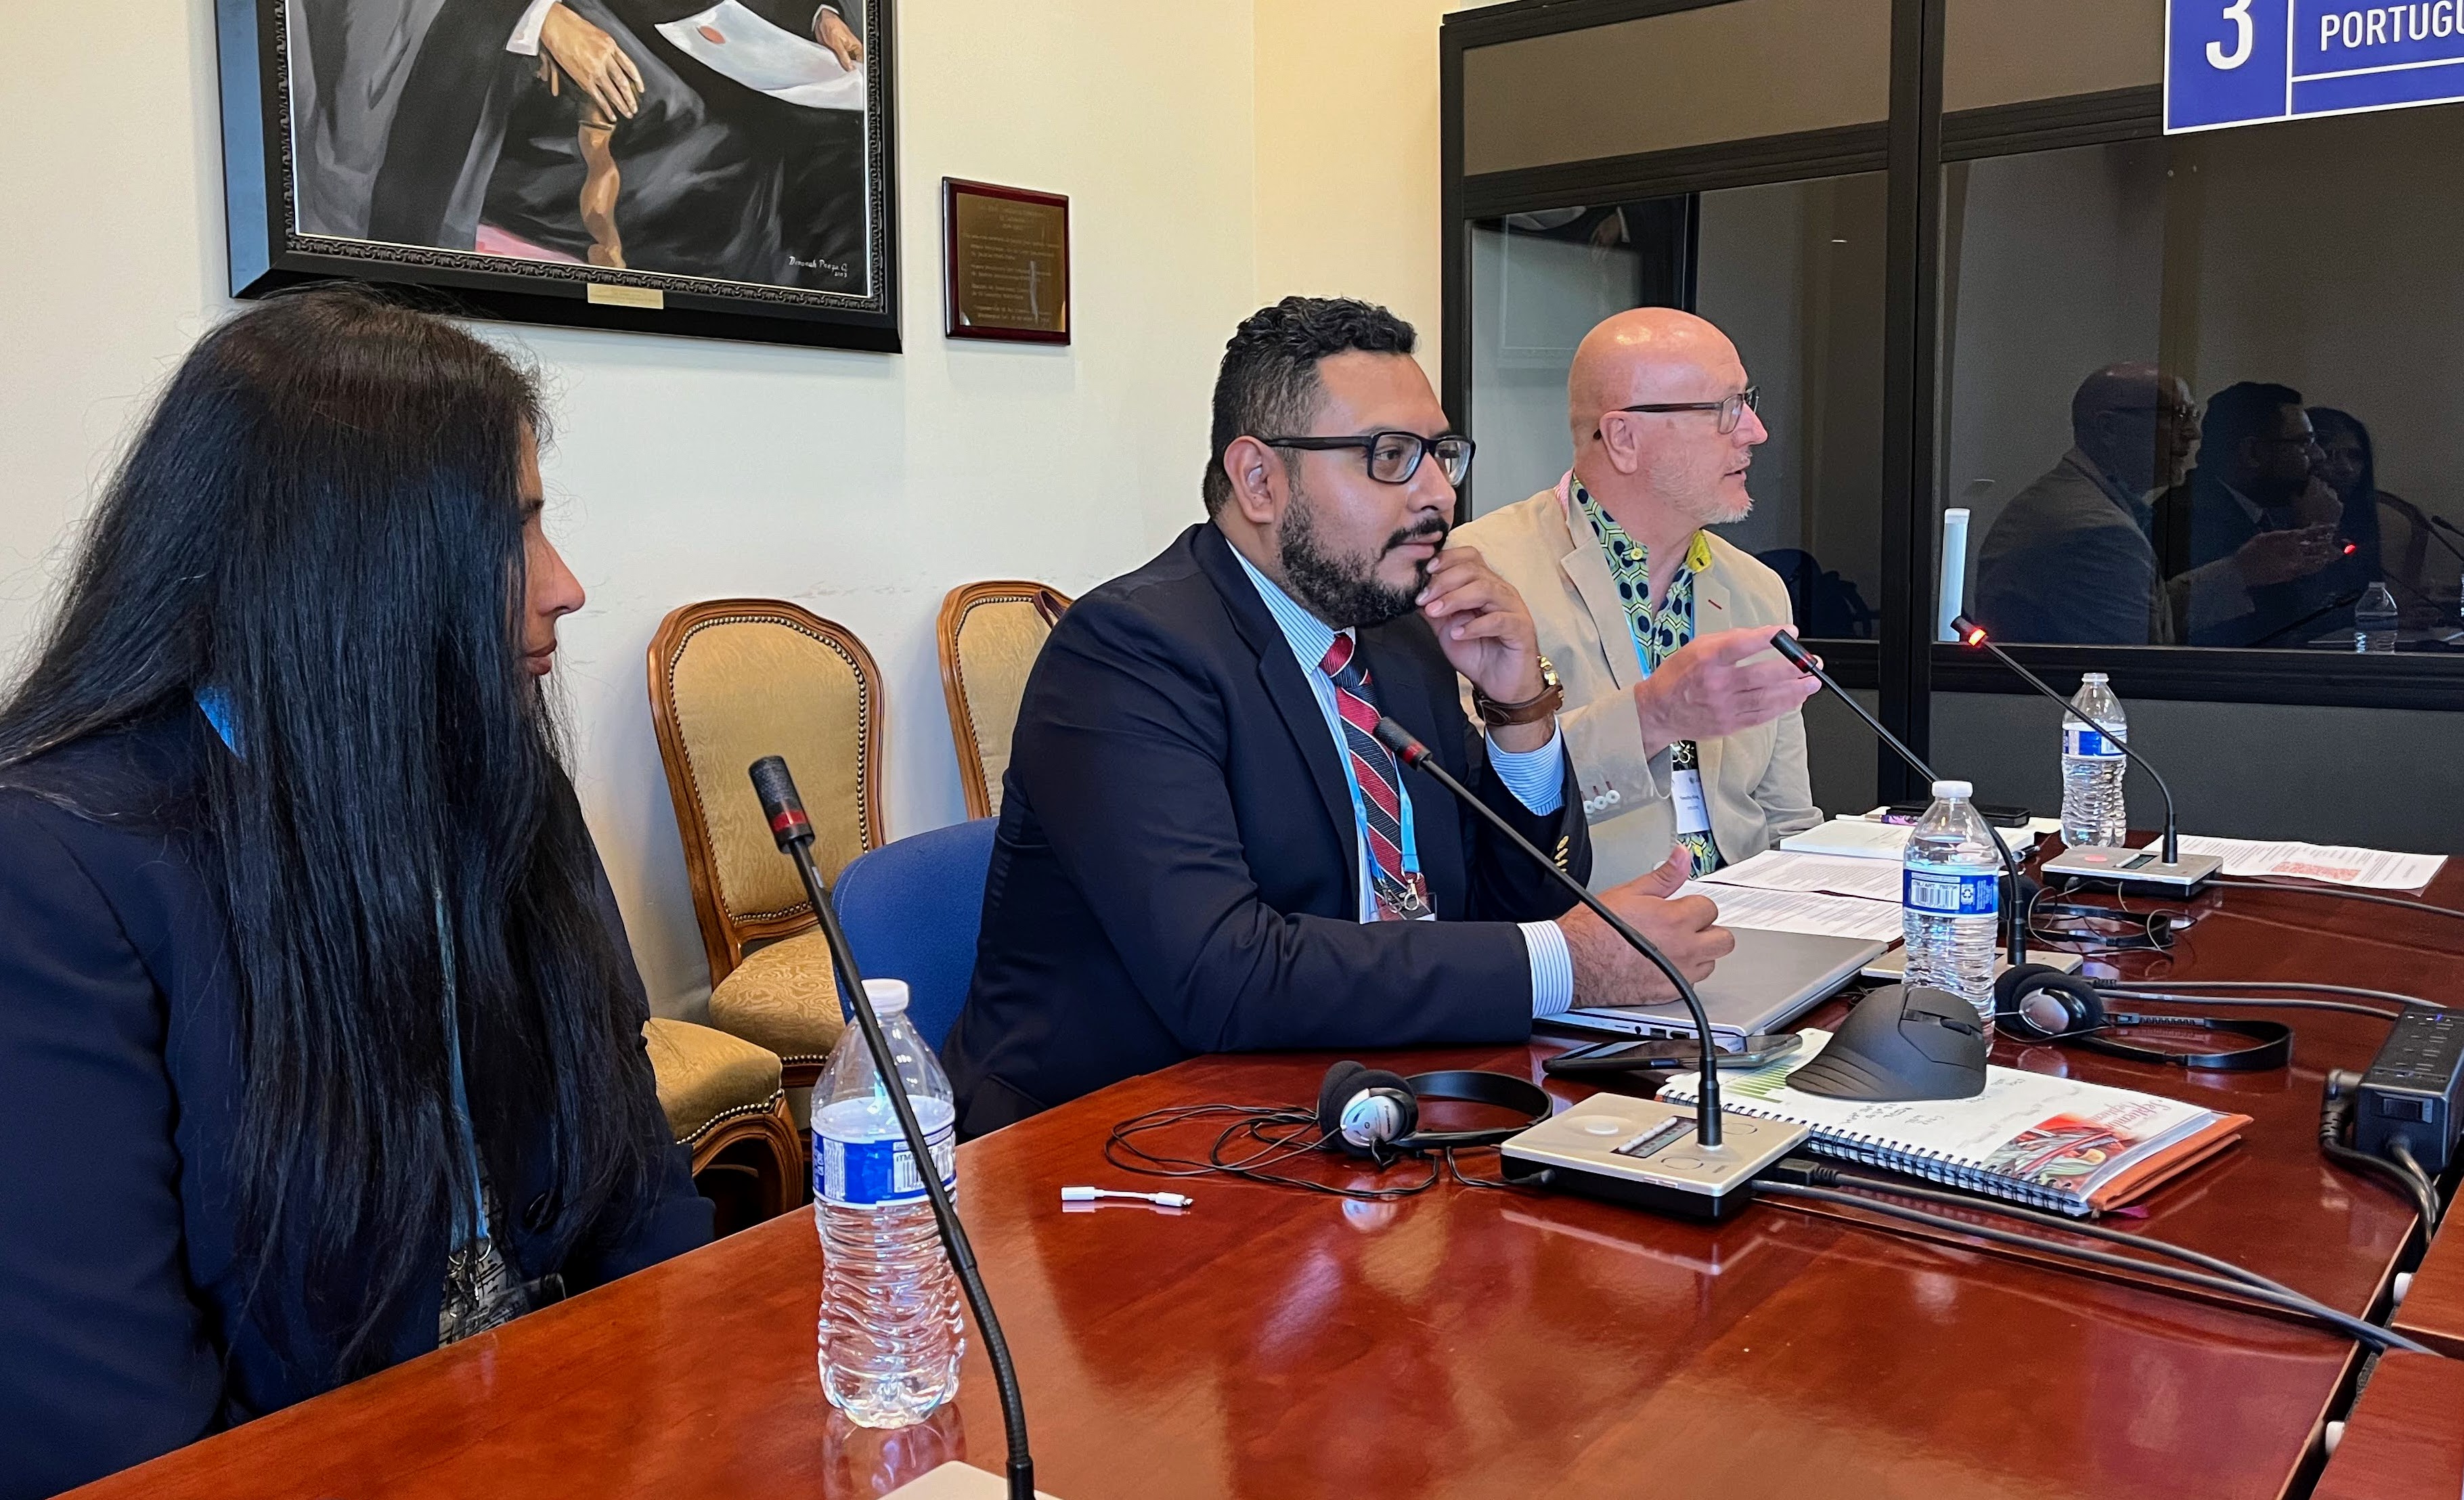
Hundreds of people from dozens of countries all working
together on cyber resiliency at the GFCE annual meeting
in Washington DC in September, 2024 (I’m on the left). |
From talking to the newly minted director of cyber at GAC to presenting on emerging technology disruptions in cyber internationally, I’m more aware than ever of the challenges in creating global connections encouraging cyber resilience. Unless we align our terminology and technical awareness we cannot communicate and collaborate effectively. In our one sided world of digital defence where they only have to get it right once but we have to get it right every time, this is a recipe for disaster. Without collaboration and cooperation there is no way organizations can defend against the asymmetrical nature of cyber attacks, the largest of which have the funding of nation states behind them.
Hope For The Future
Locally, I hope that reframing cybersecurity to cyber resilience means more leaders begin taking it more seriously, especially in education. But even cyber resilience remains problematic because it is hidden inside a larger digital literacy crisis that has grown to such a degree that many in education ignore it rather than recognize the cross curricular damage it is doing, not to mention the societal damage it is doing to our democracies.
Nationally, I hope that cyber resilience creates more diverse pathways into the field. I would love to see the absurdly privileged ‘comp-sci degree’ base expectations disappear (this is the equivalent of saying everyone who works in the field of law has to be a lawyer). Cyber resilience isn’t for specialists, it’s for everyone and I hope this reframing encourages more diverse skillsets to engage with it.
Internationally, cyber resilience is where emerging fields like cyber diplomacy and multi-country partnerships grow. If we want the benefits of digital transformation to be available to everyone while relaxing the grip of surveillance capitalists and ensuring our democracies are functional, critically looking at how we compartmentalize digital literacy and opening them up to reinterpretation is essential. Digital technology is only accelerating and clinging to old frameworks makes no sense.
The idea that we can resolve a lack of cyber skills when they hide within a much larger digital illiteracy crisis has caused a lot of frustration in cyber training. Teaching information security awareness when users lack basic digital skills is akin to attempting to teach Shakespeare to people who can’t read.
Rather than base your cyber stance on this impossible situation and watching training fail to stop the vast numbers of breaches digital ignorance causes, reframing cyber resilience through a human risk management lens reveals a more effective tactic. If people are the weakest link (and they are), don’t expect their illiteracy to be an easy fix. Leveraging a wider human risk management approach lets you ensure safety regardless of how digitally clueless your users are.
“In 2024, the idea of human risk management shifted from concept to reality as frustrated CISOs looked for solutions beyond security awareness and training to make real change.”
from Blogger https://ift.tt/GEjouO0
via IFTTT


.JPG)


