 |
Owning a Fireblade checked a box, taught me
many things and was a zero cost experience! |
I always try to balance out bike projects so that I land in the black on them. I’ve gotten pretty
good at this. The Fireblade Project cost me about $2300 all in and then I got to ride it for a season before selling it for $2500, which I then put towards the Concours14. Even with fancy seats, windshields and other gubbins, the Connie only owes me about $7000. Older model, double the mileage bikes are going for eight grand, so I’m still ahead there too.
People who throw big money down on customization that they like seem to think other people will pay extra to adopt their choices and tastes, which never made a lot of sense to me. This goes for houses or in vehicles – just because you’re willing to pay a premium to get a certain look, doesn’t mean anyone else is, and expecting them to shell out for your choices is a bit naive.
 |
The Concours was a cagey purchase that
still has me well in the black. |
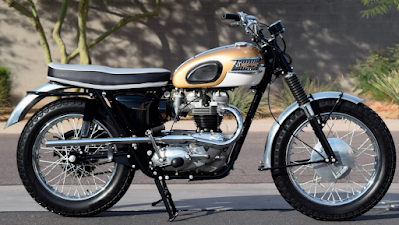
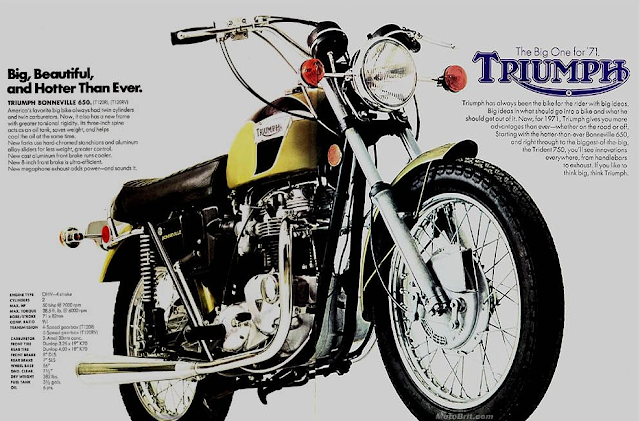
What does always sell is functionality. As much as I’d like to get all romantic and throw money at the old Triumph I’m restoring, I’m more interested in making it work, and then riding it. To that end, I’m not interested in creating a perfect replica of a 1971 Triumph Bonneville to put in shows, so modern touches (especially when they’re more cost effective than stock-at-all-cost options) are something I have no trouble with. A bike that starts easily and runs sweetly sells itself much more quickly than a cantankerous but period correct trailer queen. One’s a motorcycle, the other is art, and art is notoriously in the eye of the beholder.
One of the reasons I’ve always gravitated toward cheap and cheerful 80s and 90s Japanese restos was because the parts are usually easy to find, including hard parts from a breaker if needed, and they’re as cheap as chips to buy because people tended to use them rather than put them up on a pedestal.
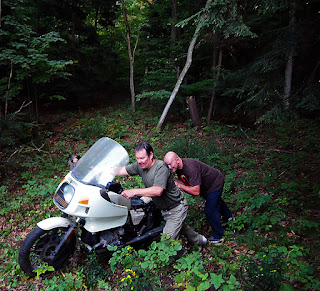
My first brush with ‘vintage’ (I think a 51 year old air-cooled Triumph from before the collapse of the British bike industry qualifies as vintage) has me wondering if my approach still works. The cost of parts is much higher than more recent Japanese bikes and this particular Bonneville was half taken apart by a muppet who wanted to be in Easy Rider, so I’m constantly finding parts missing or incorrect. I’m also struggling with missing non-metric tools after having owned metric bikes my entire life.
When I’m reading Practical Sportbikes I enjoy the articles on DIY and the stories of scratchers who got a machine put together with their own hands. When they run one of the ‘specials’ articles where it’s a rich guy with clean hands throwing money at a project, I lose interest quickly. Classic Bike Magazine is similar. When they’re talking about an owner keeping an old machine running on ingenuity and guile, I’m all in, but the minute it’s a millionaire adding to his collection with another bespoke machine put together by someone else, I’ve lost interest.
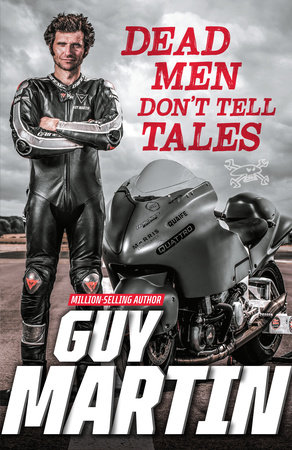
I just finished Guy Martin’s new book, Dead Men Don’t Tell Tales, and Guy ends the latest one
talking about trying to find what makes him happy. This requires a fair bit of self awareness – something that most people don’t have. Guy’s particularly difficult in that he will often act on an urge that turns out to be incorrect, but, as he says in the book, he’s evolving.
There’s a scene in Guy’s Garage where Cammy, his professional race mechanic mate, knows how to fix the car they’re working on but Guy has his own ideas and keeps bashing away at it wrong. Rather than push the point, Cammy backs off and waits for Guy to realize he’s using the wrong tool for the job.
Guy is critical of Cammy for being slack in his approach to work in the book, but I’m left wondering if the truth isn’t somewhere in between: what looks like a lack of effort from Guy’s point of view is actually a better use of his energy from the professional race mechanic’s point of view. There’s more to all this than just jumping in to the physical labour, you need to be exercising the grey matter too.
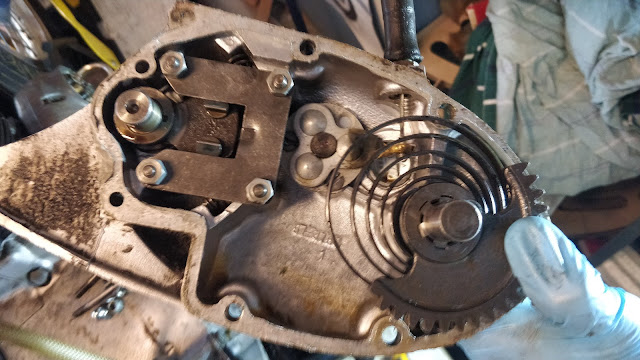
What I’m taking from this latest round of Guy Martin media is that you’re more likely to stay engaged with and finish big projects if they make sense to you. To that end, I spent yesterday working out why the kickstarter on the Bonneville wasn’t working (the muppet had put it in backwards).
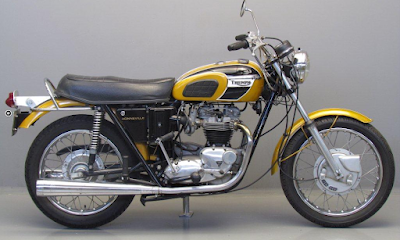
The goal is still to have gone through the whole bike and have it back in working order without breaking the bank. The amount spent on it matters less than whether or not the project is in the black. If a functional ’71 Bonneville is worth about five grand, then that’s what I’ll work to on the budget, while keeping an eye on what engages me most about all this: putting a sidelined bike back into service again… and then riding it!
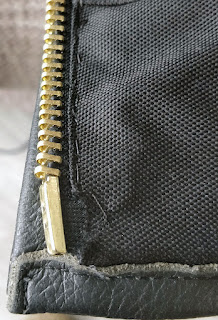
This morning I’m looking at Motogadget’s mo.Unit Blue and considering how to best tackle a 51 year old wiring loom that looks to be in good shape but should probably get rebuilt if dependability is the goal. An ignition powered by bluetooth on a smartphone is just the kind of steampunk anachronism that a riding focused buyer would dig. That it’s also invisible means it won’t hurt the look of the bike (the only change is the ignition key isn’t there).
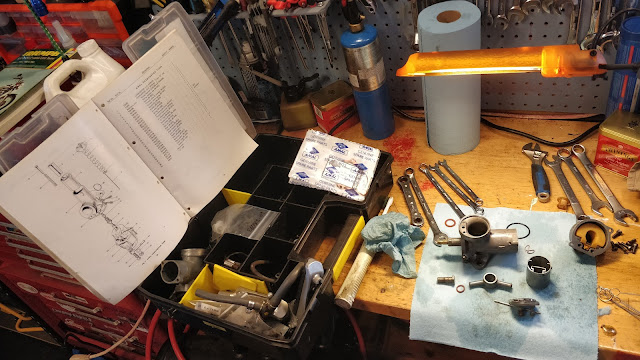 |
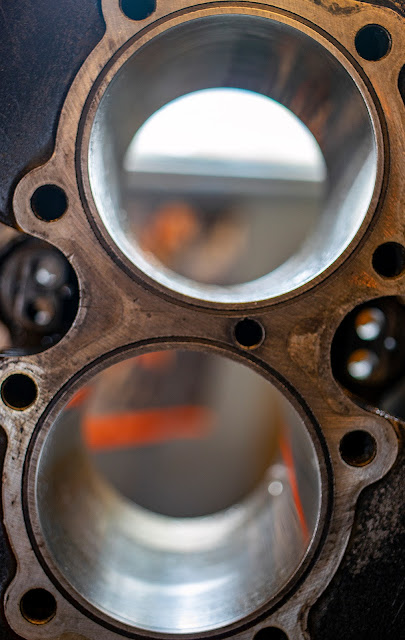
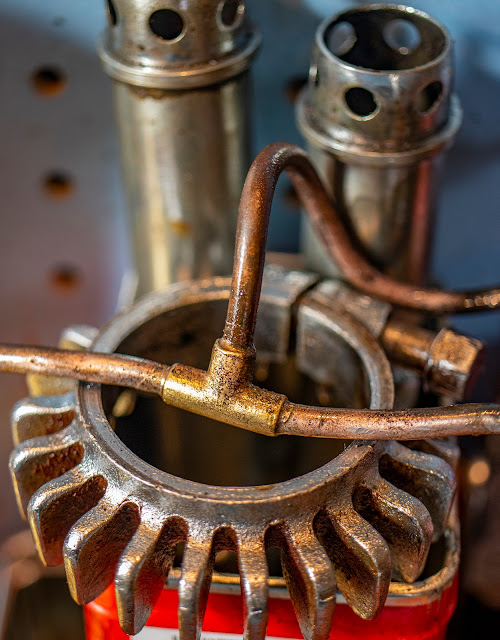
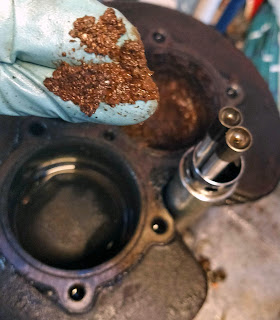
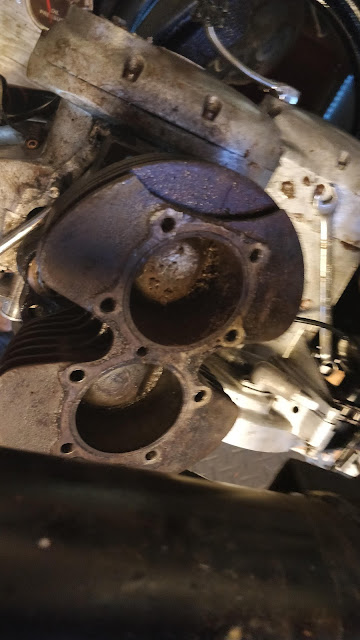
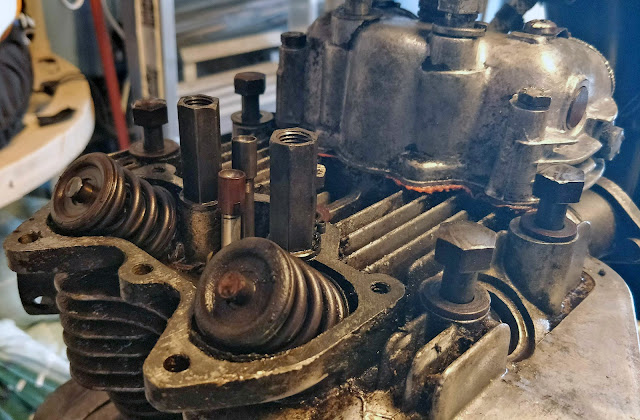
| Got into rebuilding the Amal carbs only to discover the muppet who took them apart before didn’t install any of the air slider hardware for the choke, so now I’m hunting for hard parts for 51 year old carbs… in a pandemic. Note my anemic imperial socket wrench set. |
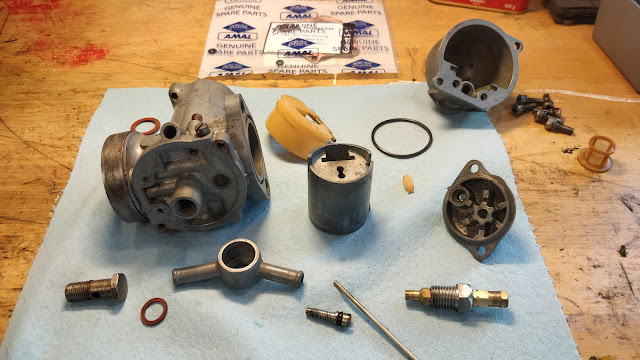 |
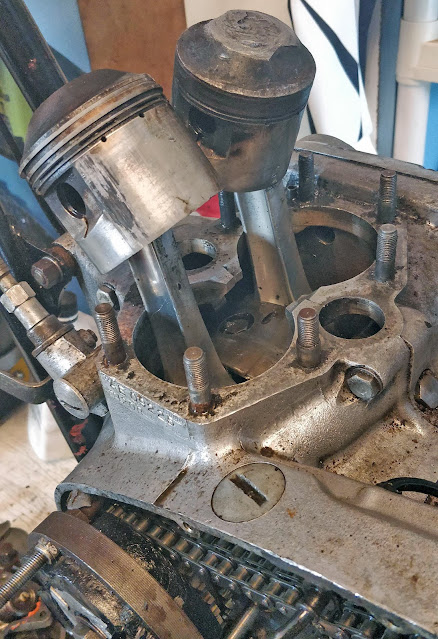
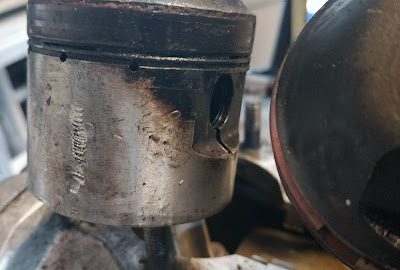
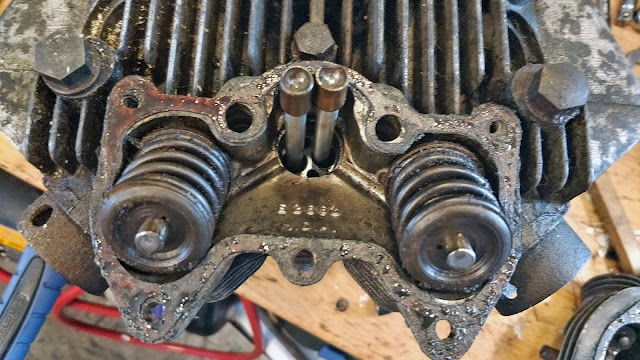
| Ready to go and then stopped – neither carb has the air slider or hardware in it. I’d normally call around to the local breakers, find a donor set of carbs and then keep them handy for situations like this. That isn’t an option with a 51 year old British bike. |
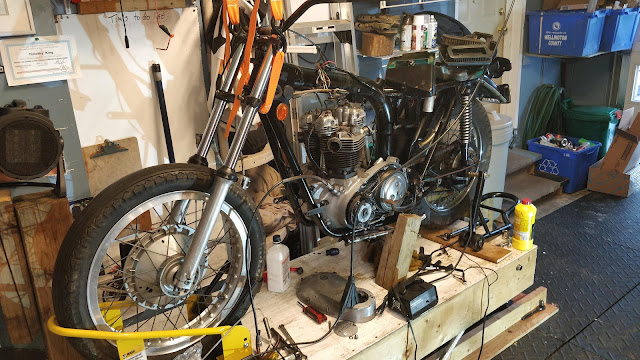 |
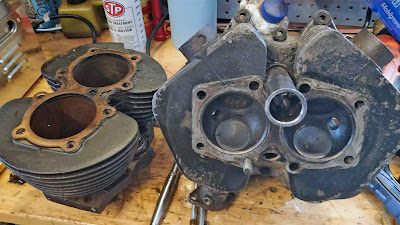
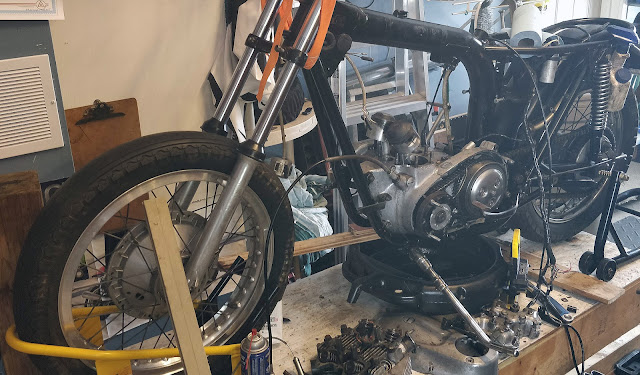
| It’s coming along – slower than I’d like, but it’s coming along. When it seems too much I remind myself why I’m doing it: one day soon that engine will turn over for the first time in decades and shortly after that I’ll be out riding the thing! |
from Blogger https://ift.tt/3rnOlxD
via IFTTT