Signs of Spring 2018

The weather is fairly crap, but there are signs of spring as the sun returns more and more each day.  All done with the Canon T6i.  Macros are done with the 18-35mm kit lens, the birds are using the ‘kit’ 55-250mm long lens.


from Blogger http://ift.tt/2G2t3Qq
via IFTTT

Variations in On-Motorcycle 360 Photography

The other day I tried a variation on the on-bike 360° photography I’ve previously done.  Rather than mount the camera on a flexible tripod on the front of the bike, I attached a carbon monopod to the rear top-box rack, extended it and put the camera on top.


The bottom part of the monopod had a screw in point.  With that removed I could bolt this very light weight, carbon fibre monopod to the rear luggage rack (which itself is attached to the frame) very securely.  In almost an hour of riding on typically lousy rural Ontario roads both the camera and monopod were very secure and the photos showed no evidence of wobble or blur.


These are the parts used:

With the camera over a metre above and behind my head, the three-sixty degree pinched perspective makes the bike and I look quite far away:


After doing a round at full extension (the monopod extends to just over five feet or 160cms), I reduced the bottom leg.  I couldn’t see the results of the shots until I got back and I was worried that the full extended monopod would produce wobble and blur or be structurally stressed (it didn’t and it wasn’t).  The monopod only weighs a couple of hundred grams and can hold 10 kilos or 22 pounds of gear – the Theta weighs less than a hundred grams.


With the camera reset closer to four feet above the back deck of the bike I did some more miles, including riding over some very rough roads.  Even in those circumstances the rig was solid, unmoving and took sharp photos, even in the relatively poor light (it had been heavily overcast, foggy and raining on and off all day).


The pavement leading up to the West Montrose Covered Bridge is particularly rough, but even then the photos were clear and sharp.
Good horizons on such a tall camera mount, and this is at the lower setting.
With the camera set so much higher, corners don’t seem as dramatic.  When the camera is mounted on the rear view mirror it turns with the handlebars, amplifying the lean effect.

Perhaps the best example of the camera’s lack of wobble was the shot from inside the covered bridge.  On an overcast, dim day in a poorly lit environment with the bike bouncing over rough pavement, the sharpness is still surprisingly good.  This was so dim that I had to raise the sun visor in the helmet:

This is a photo uploaded to the Theta 360 site and modified with the little planet geometry tool.

I’d call this a successful test.  Setting up this kind of monopod on a Givi tail mount for a top box works really well.  The monopod base fits snuggly in the tail mount, which is a very solid, over engineering piece of kit designed to carry potentially heavy luggage.  The monopod takes a big quarter inch bolt.  I used a big washer on the bottom and a smaller one that fit perfectly inside the lattice on the top of the rack.  With the monopod tightened down with a ratchet it was extremely secure.


The camera didn’t wobble on full extension, but with the monopod retracted one level (the shortest, narrowest one at the bottom) the monopod rubber met the top of the luggage lattice and it was even stronger.  With the camera on the shortened tripod, the photos still offered a surprisingly distant perspective:


With the monopod shortened one level it’s still well above six feet off the deck (I’m 6’3″).

It’s another unique perspective to pursue with 360° on-motorcycle photography, but I have to say, I think it feels a bit alienating because everything is so distant and you can’t see the rider’s face.  Short of flying a drone perilously close to a rider, there is no other way you could get this perspective though…

One of the few sunny moments on the ride – you can see the monopod’s shadow on the road.


Something like this might look really cool on a bike doing a wheelie, or someone knee down in a canyon.  It also does a nice job of capturing the surroundings, but unless I’m looking for shots that are more about the scenery than the ride, I doubt I’ll be doing it again.  I prefer the more intimate and exciting angles you get from mounting the camera closer and in front of the rider:


from Blogger https://ift.tt/2NFyhBu
via IFTTT

2022 Imaging Kit Wishlist

What I’d upgrade equipment-wise if I had my druthers:
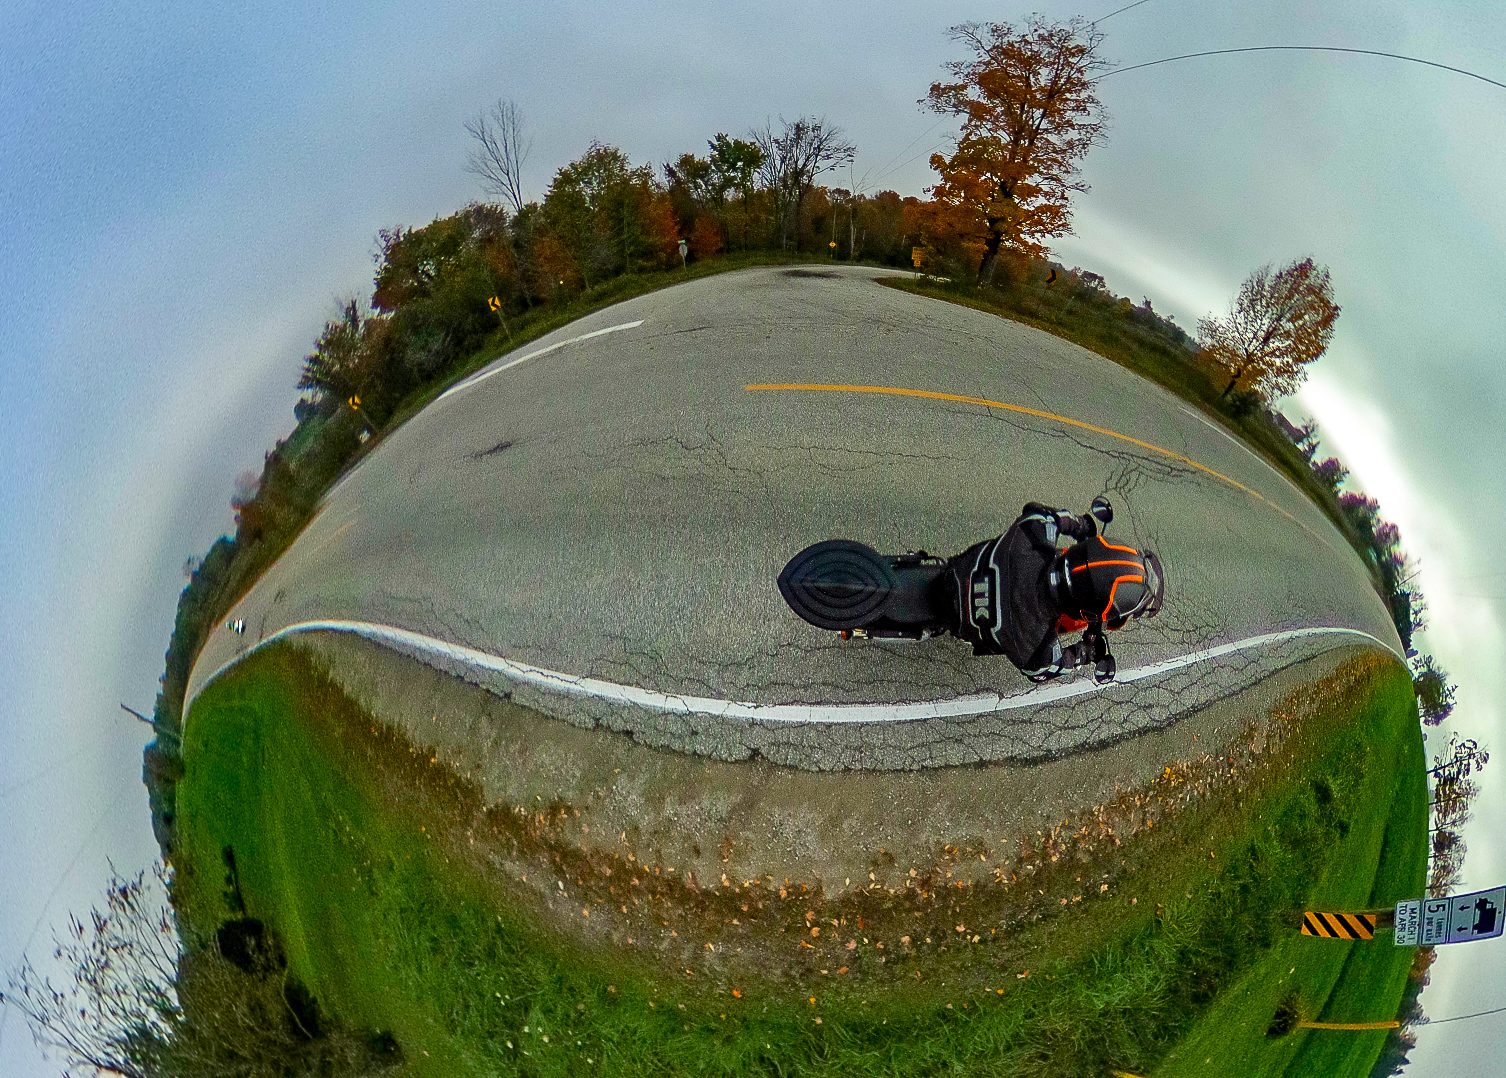

360 Cameras


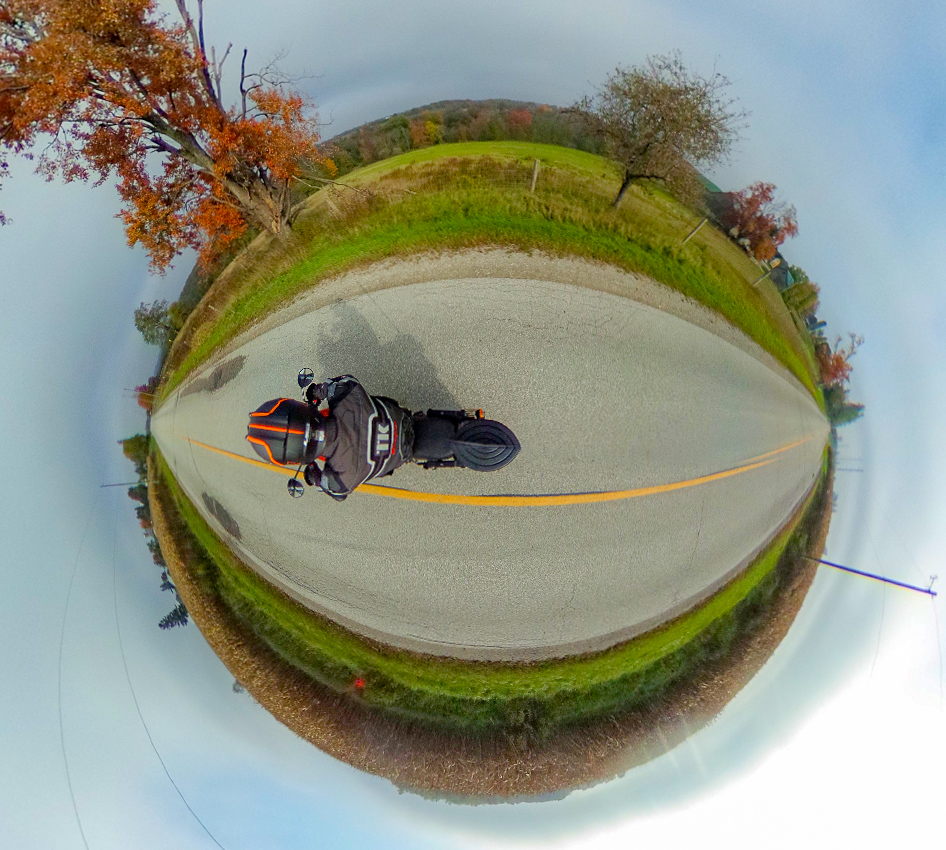
Ricoh Theta Z1:  most 360 cameras are built for action video and make photography an afterthought.  The Z1 is a photography first tool with the largest sensor, raw image file options and a quality of image quality rather than quantitity.  It’s expensive, but if you’re into 360 photography and especially exploring the edges of it, the Z1 is the tool.

Cost:  $1350


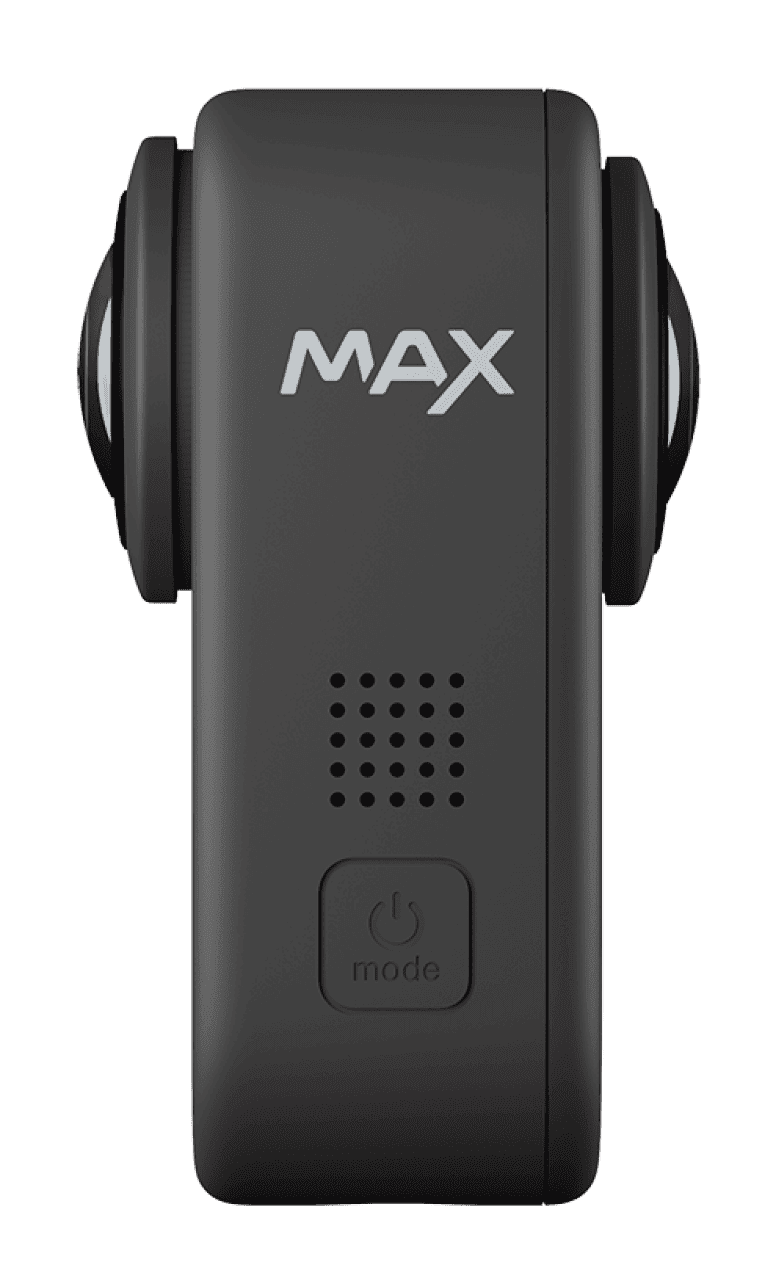
GoPro Max 360 Camera:  I’ve chewed up a few Thetas doing action photography.  The GoPro Max is pretty much everything proof and produces quality 360 images, though it is (like most 360 cameras) video focused.

At 16.6 mega-pixels the Max produces nice images, and the time lapse photography option would work well for on-bike photography.

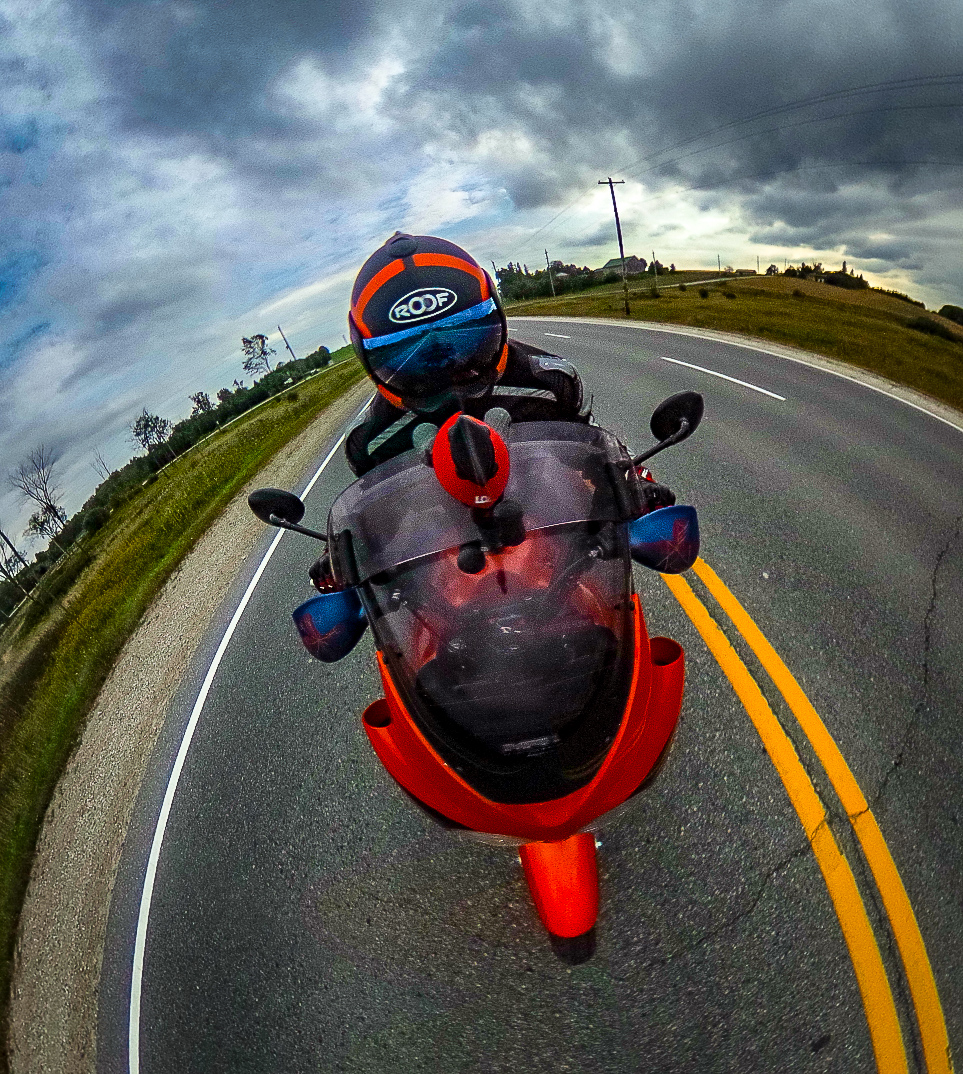
It’d be nice to have an on-bike camera that I could just leave filming when the rains come.  I currently have to get the dainty Theta out of the way whenever the weather sets in.

Cost:  $730


Aerial/Drone Photography

DJI Mini 2:  I’ve got a Phantom 2 and it’s a fine thing, but it’s big and increasing restrictions on drone flight make it more and more difficult to fly.  You can get around most of that by flying a micro drone (under 250 grams), which don’t require the same restrictions.

There are super cheap options with poor cameras and disposable air-frames, but the Mini-2 borrows the best tech from its big brothers in a small, foldable package that travels well.

Cost:  $520


Digital SLR Camera Updates

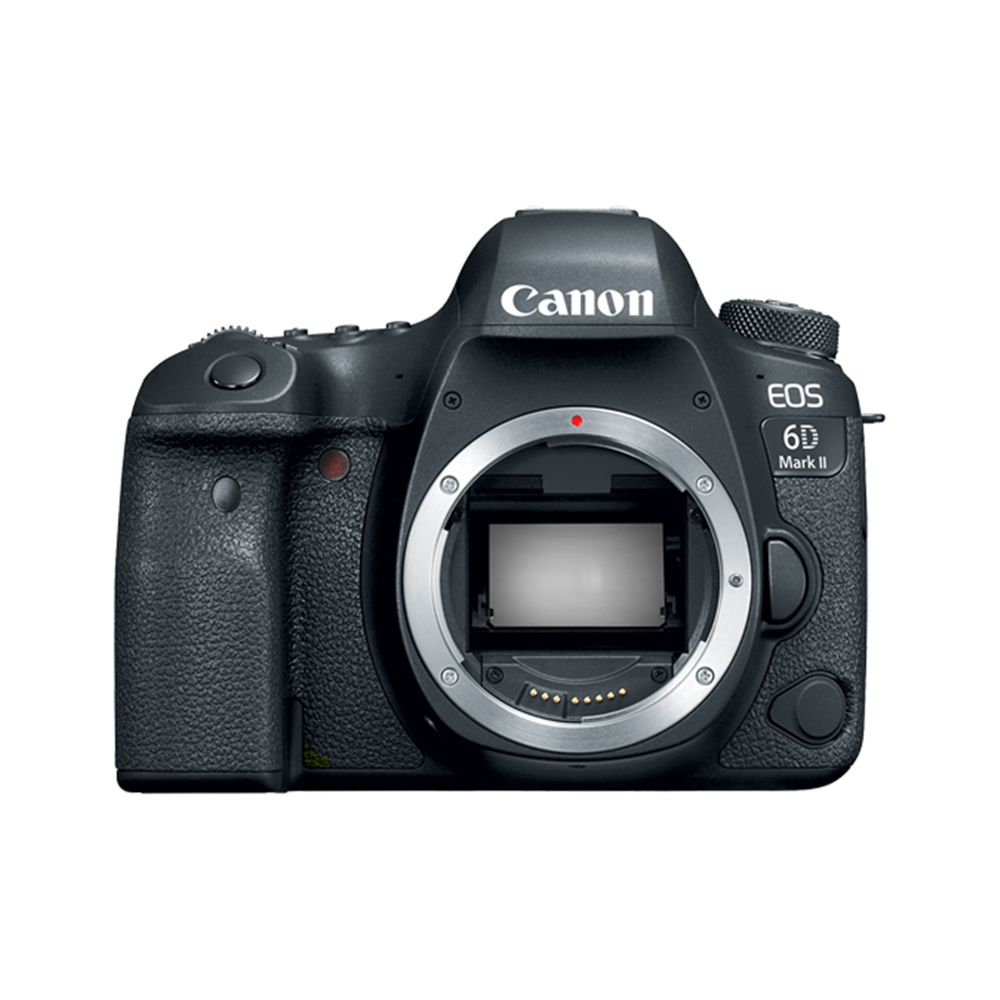
Canon 6D Mk2  SLR camera body:  I’m still enjoying my Canon Rebel T6i and I’d want an more advanced camera body that would still let me use the lenses I’m familiar with.  The 6D is the next step on from the entry level Rebel cameras with improved features and range.  Stepping up doesn’t come cheap though, though it would still be able to use my current lenses.

They describe my Rebel as a ‘beginner’ camera, though I’ve won competitions against ‘pros’ with ‘pro’ cameras, but the marketing does mess with my pride.

Body Cost:  $1800


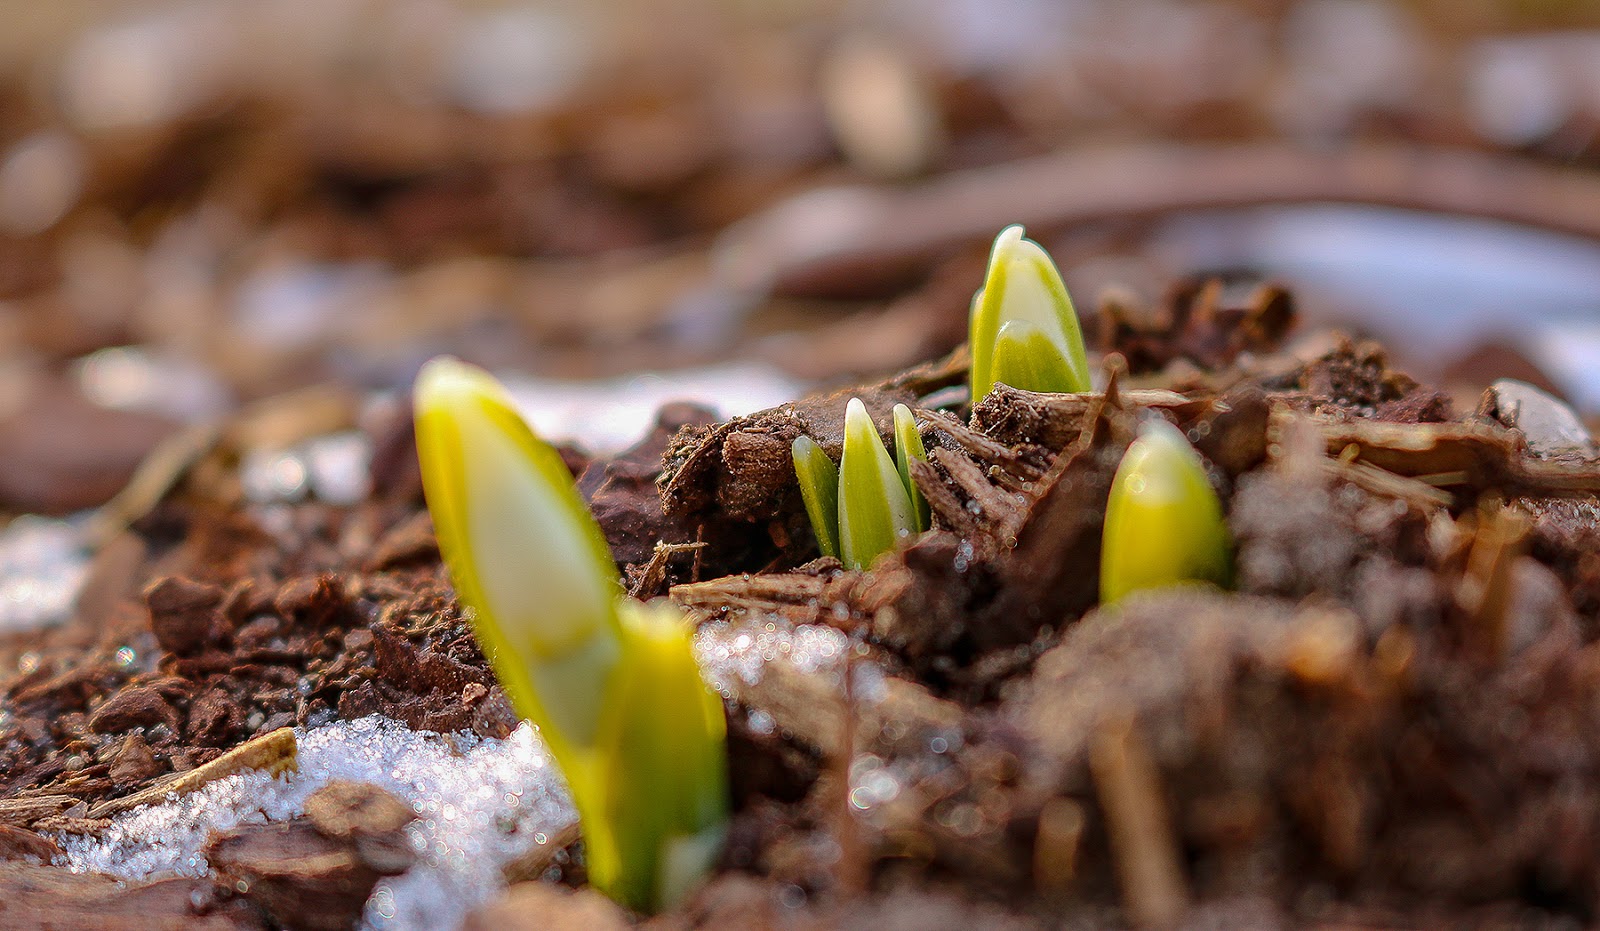
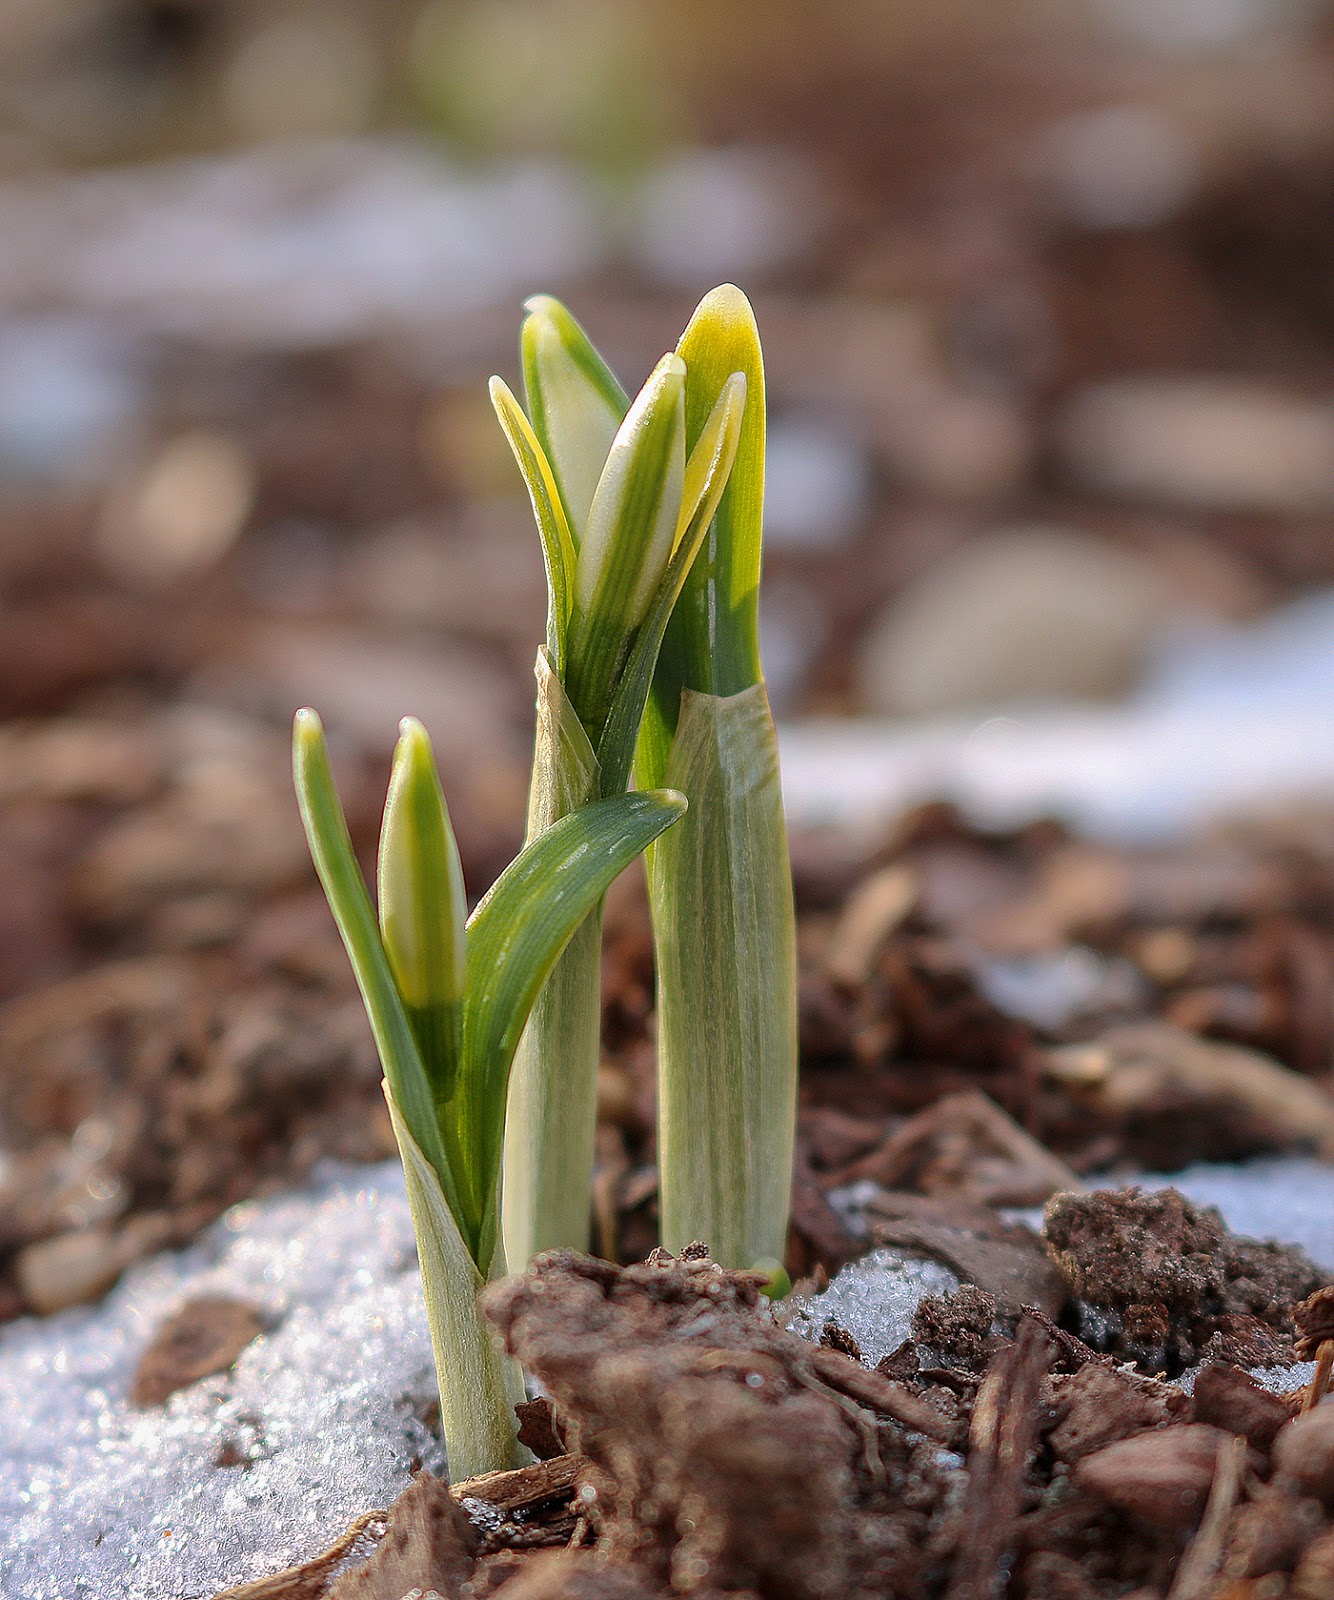
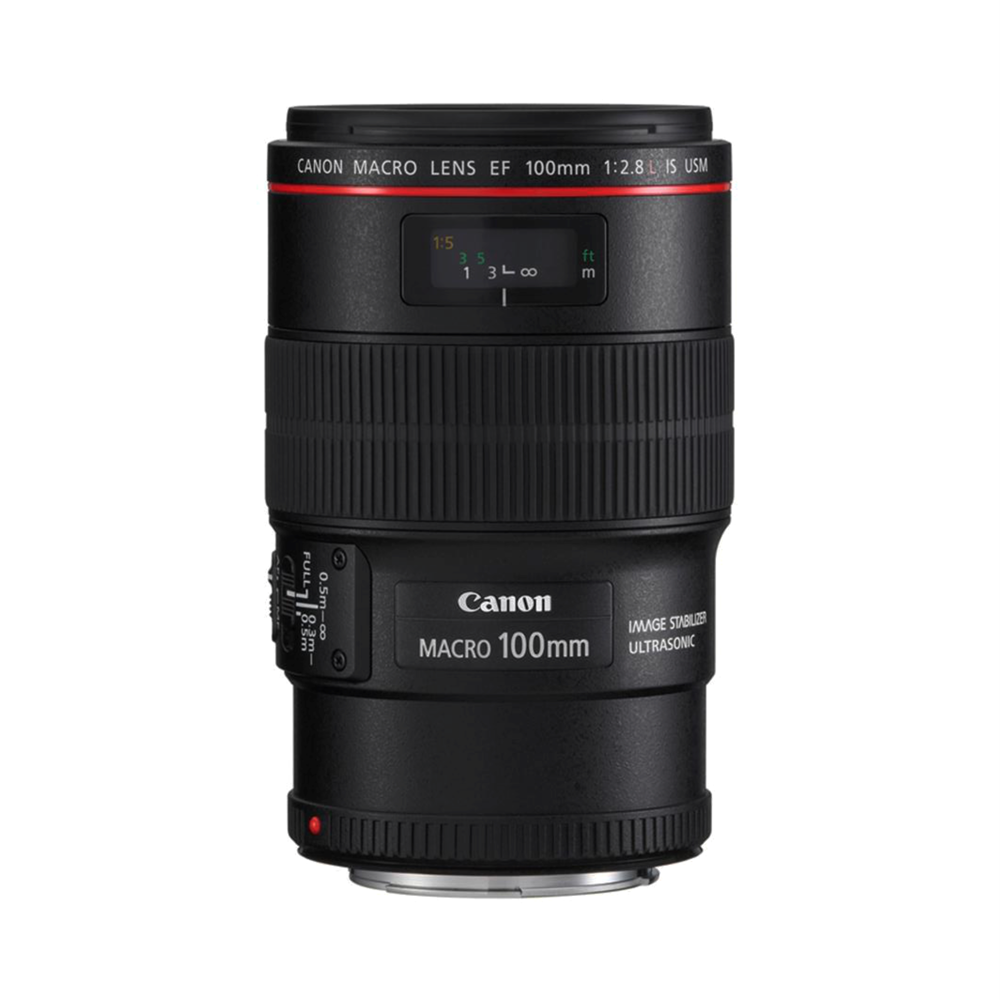
CANON EF 100MM F2.8 L MACRO IS USM LENS

I love macro photography and use the Canon basic macro lens on the Rebel.  This is the stop up full-frame lens for the 6D.

It would have to be next level because this lens alone costs more than my current camera body with a tele, prime and macro lens.

$1700


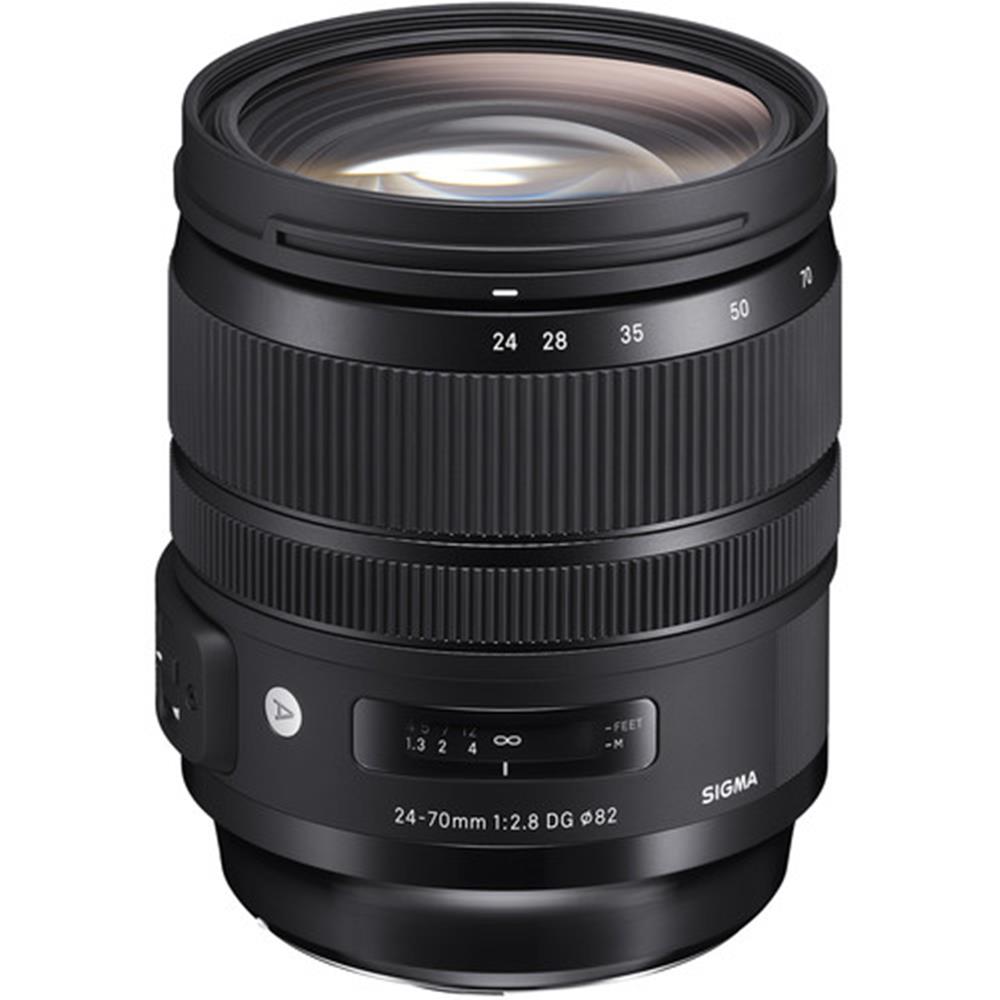
SIGMA 24-70MM F2.8 DG OS HSM CANON (ART)

Described as a bright standard lens that makes use of the 6D’s full frame sensor.  

Another lens that by itself costs more than all the lenses I currently have.  DSLR shooting out of the ‘beginner’ cameras is for the privileged.

$1600


CANON EF 70-200MM F2.8L IS III USM LENS

If you think the others are dear, here’s your telephoto, and only up to 200mm, for less than most of my motorcycles have cost.


$2700


I’d like more reach with a full frame camera but pro-really long telephotos start to get into same-price-as-a-car money.  I’ve explored Olympus’s DSLR alternatives and enjoyed owning super-zoom all-in-one cameras too.  Super zooms have come a long way in recent years.  Sony’s DSC-RX10MIV  has a massive 1 inch CMOS sensor promising good low light photography while also offering an astounding 24-600mm reach on a built in lens.   Rather than chuck thousands at lenses and DSLR bodies (and then have to lug it all around), maybe a next-gen all-in-one super zoom should be next, though if this is a wish list then the money wouldn’t matter.


Rather than flash “pro” kit around, I’m looking for ways to innovate my photography.  A full-frame DSLR would be nice, but for a fraction of the cash I could get myself a current micro-drone, a powerful super-zoom and the latest in 360 camera technology, which even with all my experience with, I still feel like I’m only just scratching the surface.

In a variation on photography, I’ve also previously explore 3d scanning with the first gen Structure Sensor.  Their current PRO model is $695 (US) and comes out this summer.  That’d also be on my short-list of ‘imaging tools’.

If I avoided the DSLR money-pit, I’d be into five and half grand in the latest imaging tools (360 cameras, drone, big sensor all-in-one super-zoom and 3d scanner).  That’s 1/3 the price of a single ‘pro’ level telephoto lens.  Wish list or not, I think I can do more interesting things with digital imaging with a more diverse set of tools.


from Blogger https://ift.tt/YvWmpgK
via IFTTT

How to take striking 360 photos while riding a motorbike

I’ve been asked how I manage to get on-motorcycle photos while riding, it isn’t with a drone!  Here’s a quick how-to on taking striking action shots while you ride using a 360 camera attached to your bike using a flexible tripod.  There are links at the bottom to other examples of on-bike 360 imaging.

You need a camera with a very wide angle of view.  My preference is for a full 360 degree camera as this also lets you form your images into ‘tiny-planet‘ photos, which are a unique, relatively new way to compose a photograph.  As part of my job I’ve tried many different 360° cameras, but my favourite for on-bike shots is the Ricoh Theta.  It has bright, clear LEDs to let you know what it’s doing and is easy to operate (even when wearing motorcycle gloves) physical controls.  It’ll let you preset things on a smartphone if you want, but it works just as well firing the shutter button for video or photo.

Other 360° cameras I’ve tried have you faffing around with smartphone based controls which don’t work with gloves on.  I’ve also had problems, especially with Samsung’s Gear360, rendering images out of that camera in the provided software.  The Ricoh software offers settings I value like interval photography and the software has never had a problem rendering quickly.  All the 360° cameras I’ve tried have surprisingly good light retention and clarity of image for fixed lens cameras.

You might be able to get away with a 180° camera or something like a go-pro with fish-eye lens, but the 360° camera guarantees you catch everything because it catches everything with no need to aim and focus.

I started doing on bike photos by firing the shutter using the big button on the Theta.  This produced some good on-bike shots, but you always end up with an arm in the photo holding the camera, and you look like you’re not focused purely on riding because you’re not.

There are some benefits to firing the shutter manually.  You can time it to catch something interesting.  You don’t have to focus or aim at anything because the camera catches it all in focus.  You can make some interesting angles holding it low over the pavement, overhead or anywhere else you’re flexible enough to reach.  Even with all that though, you’ve still got an arm in every shot, unless you’re really cunning with the cropping in post processing.


Last summer I was testing a self levelling gimbal for 360° video and made a video under the most challenging circumstances I could devise (riding a motorbike):

The gimbal did a good job of levelling things when the bike went around corners and I liked the focused-on-riding look of the shots.  This experiment got me thinking about a way of fixing a camera to the bike that would match angles with the bike when it leaned over in a corner.  I also wanted something that didn’t involve a camera right in front of me while I was riding.

I finally settled on a gorilla-pod type flexible tripod.  If your bike has raised rear view mirrors they make the perfect mounting point for the camera.  If you wrap the tripod around the wing mirror with some care, you can still use the mirror effectively.  Flexible tripods have good stretch, so I’d recommend wrapping one of the arms right around the mirror arm to ensure it stays attached even if it comes loose.  I pre-set the camera to take a photo on interval mode every 5-10 seconds and then forget about it.  When I get back I look through the photos for interesting shots and then pull them into the 360 software which takes the raw image data and lets you move around within the photo to frame the part you’re looking for.  The shots you end up getting look like they were taken from a drone flying along next to you:

You can play with the geometry of 360 photos and video in a number of interesting ways.  One of the most popular is the little planet shot where the image is distorted to make the ground a circle in the centre of the photo.  The Theta software does this if you put your photos onto the theta360 website with the click of a button.  Here are some ‘tiny planet’ images:

It’s digital photography, so don’t be tentative.  Try different things, fire a lot of shots and keep the good stuff.  With a bit of practice you’ll be producing amazing looking on-bike shots that’ll have people asking you, ‘how’d you do that?’

Here are the bullet points in case you’re a millennial that doesn’t read long form text:


  • Get yourself a quality Gorilla Pod type tripod.  I use this one I got from Amazon, but I’d suggest  going up market a bit – this thing is a plastic piece of crap.
  • Wrap it around one of your rear view mirrors.
  • I loop one tripod leg right around the mirror arm, so there is no chance of losing the camera (I learned that the hard way).
  • I prefer the Ricoh Theta because:
    • it has physical buttons that are easily usable even with gloves on
    • it has clearly visible LEDs and modes
    • the Theta has superior software for video and photo editing, including built in tiny planet settings and it never crashes or renders pixelated (like Samsung software)
    • it’s aerodynamic and much lighter than alternatives
  • Set the camera to video or interval photo-shooting, start it up and forget about it
  • When you get back download the videos or photos and check out what you caught
  • When you use the software you can look around within each photo and video and compose photos and video based on the bit you want to see

Here are some other links to 360 media making:

When you’re collecting many photos on auto shutter it’s relatively easy to combine them all together into a stop motion video.
Links to other 360 motorcycle photo examples:

Some other variations with camera location on the bike:

Mounted on the riser on the windshield so you get an off the front view.
360 shots make for good imaging backgrounds in posters and online content.  Mechanical Sympathy is my homepage…

Rear camera mounting positions…

On the pillion footpeg mount on the Fireblade
Playing with geometry and distortion in the Ricoh 360 software
Mounted on the rear pillion frame on the Triumph Tiger…
A more extreme rear camera mounting position can be found here:  https://kingfisherimaging.blogspot.com/2018/10/variations-in-on-motorcycle-360.html
A primer on how to use automation in Adobe Photoshop and Premier Pro to create a little planet stop motion video from 360 photos:  https://kingfisherimaging.blogspot.com/2020/03/its-editing-all-way-down-creating-360.html
Getting a grip on running scripts in Photoshop lets you automatically generate hundreds of tiny planet images that can then be dropped into a stop motion video.
Another crack at it using photos taken from a summer 2020 ride through the Haliburton Highlands in Central Ontario.
2020 360 on-bike photography album:  https://photos.app.goo.gl/7NWTV4nfpYS7Uy7i6

Motorcycle Mechanical and Restoration Photography

You can follow my various motorcycle wrenching on Tim’s Motorcycle Diaries.  Here are some photos from another long COVID winter in SW Ontario ranging from a brake pad and fluid service on my Kawasaki Concours to a chain and sprockets maintenance on my Triumph Tiger and ongoing work on the venerable 1971 Triumph Bonneville long-term project.  Some are taken with the OnePlus5 smartphone, usually as a reference for when I have to put something back together again.  A few are taken with the Canon SLR when what I’m working on looks particularly visually interesting.

from Blogger https://ift.tt/D4xNaCZ
via IFTTT

Winter Photography in the Polar Vortex: Ice & Snow

Taken over the winter of 2021/22 with a Canon T6i DSLR and the STL Canon macro lens.  Backlighting created by opening a car door and shooting through the window into the morning sun. Click to zoom on image.

January 29th, 2022:

January 21st/22nd, 2022:

January 16th, 2022:

January 11th, 2022

January 3rd:

The Polar Vortex didn’t drop down on us until January.  December had a very different tone to it…

from Blogger https://bit.ly/3IMV23A
via IFTTT

Low Light Autumn 360 Camera On Motorcycle Photography

Taken around 4pm on a September 28th.  Sunset is about 2 hours off, but the sun is already low and a weather front is moving in bringing days of rain with it.  Not great light, but it shows you what a Ricoh Theta can pick up in poor conditions.  Most shots were taken while we were moving at 80+km/hr.


from Blogger https://ift.tt/2QpBoj1
via IFTTT

3d Modelling & Imaging

Through work I’ve done a fair bit of 3d modelling and imaging.  A cheap and easy to use 3d scanner is the Structure Sensor, a laser scanner that clips on to an ipad and quickly builds a 3d model by painting it with a distance sensing laser.  It takes the distances and builds up a model of polygons from the location data.  


Using that process I’ve rendered 3d models as well as 2d images of them.  I use Sketchfab to upload 3d models to the web to share them.  2d images are typically screen captures of the 3d models either off the ipad after the Structure Sensor scan or out of Sketchfab after they’ve been uploaded.


Here are some examples:


This is a 3d print of the Tigertester model above.
These black and white images are off the Structure Sensor software on the ipad (in xray mode).

You can skin the image to give it colour, this is an example of the skin that would go over the wire frame model to render it in full colour.


LINKS:

3d modelling & graphic design work on motorcycles.
3d modelling & graphic design in the classroom.


from Blogger http://ift.tt/2C88RHF
via IFTTT

A Cold, Sharp Night Sky

Taken between 9-10pm on March 17th using the Canon T6i – ISOs from 6400 and up, F stops from 5-11, 30 second shutter…

from Blogger http://ift.tt/2u7WHz2
via IFTTT