This is one of those things that is probably more trouble than it’s worth, but since I have some time on my hands, why not give it a go?
Creating a ‘Little Planet‘ wrapped image out of a panorama or 360 photograph is something you can do directly in Ricoh’s online editing tool…
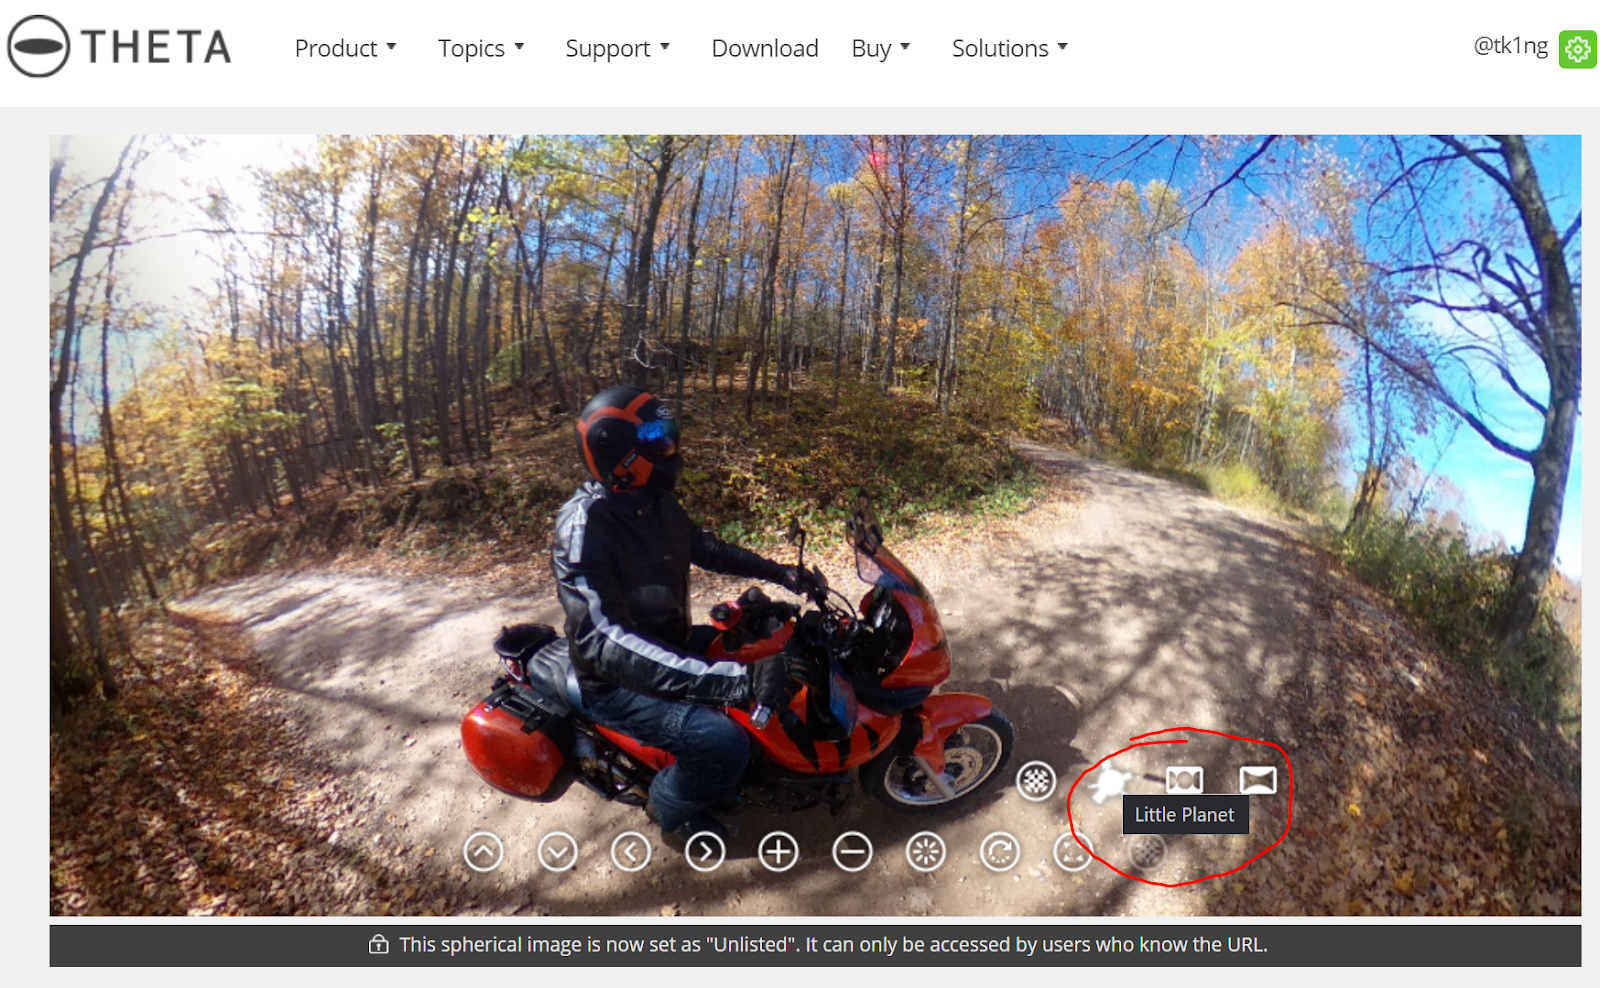
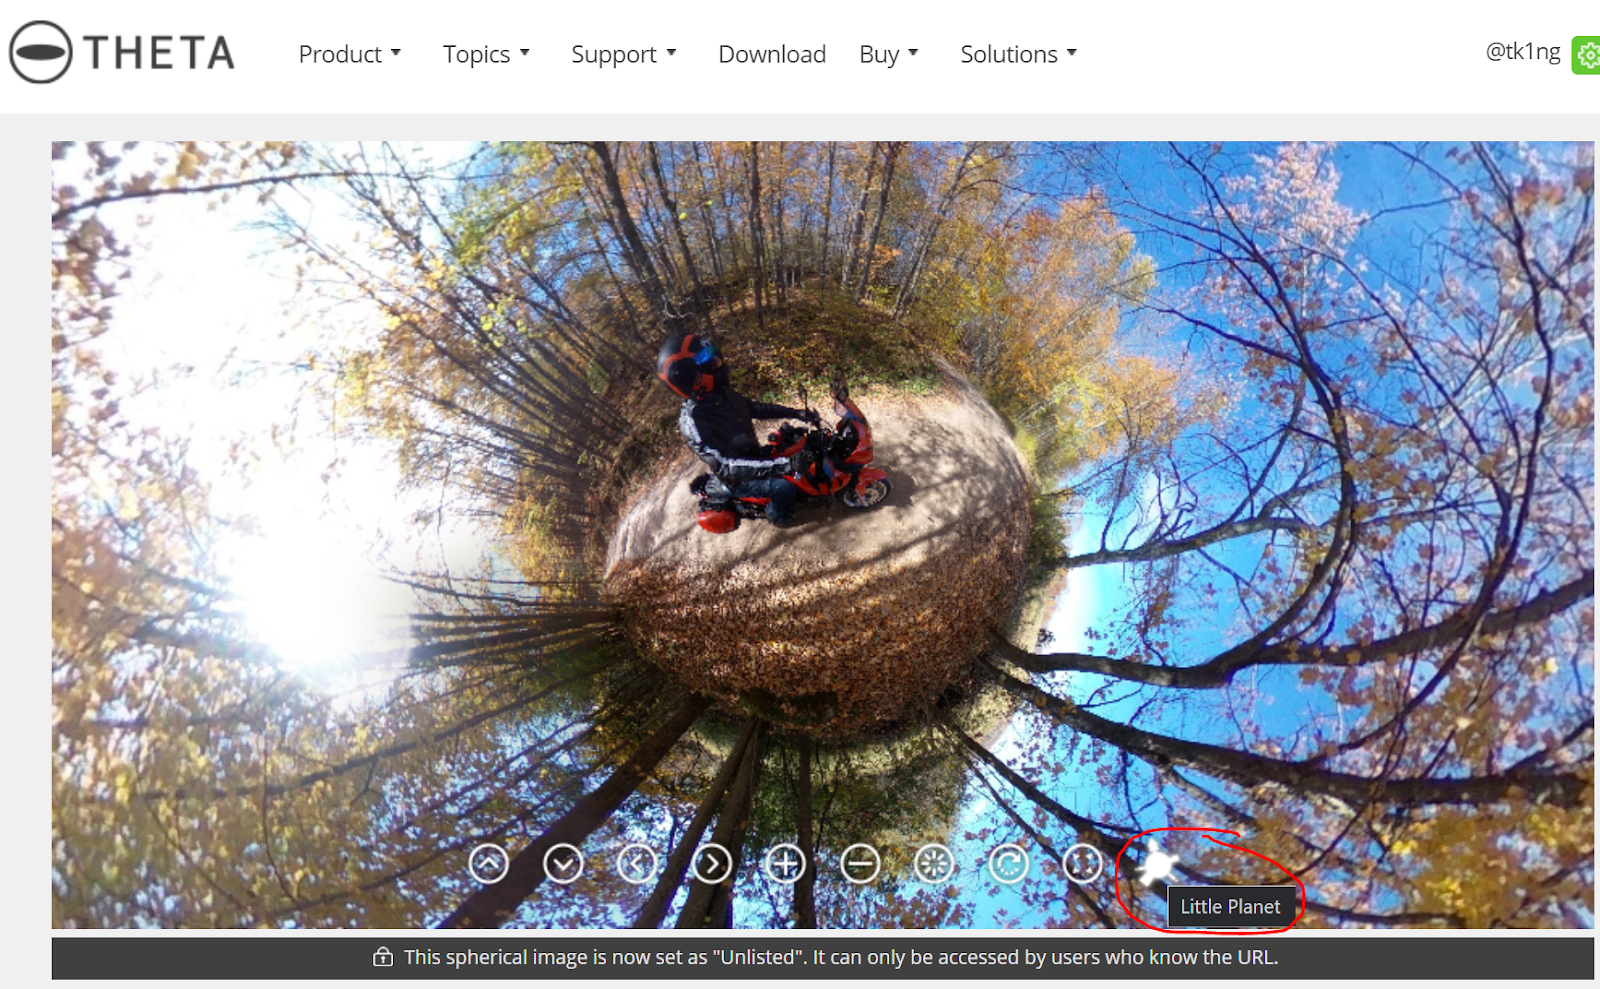
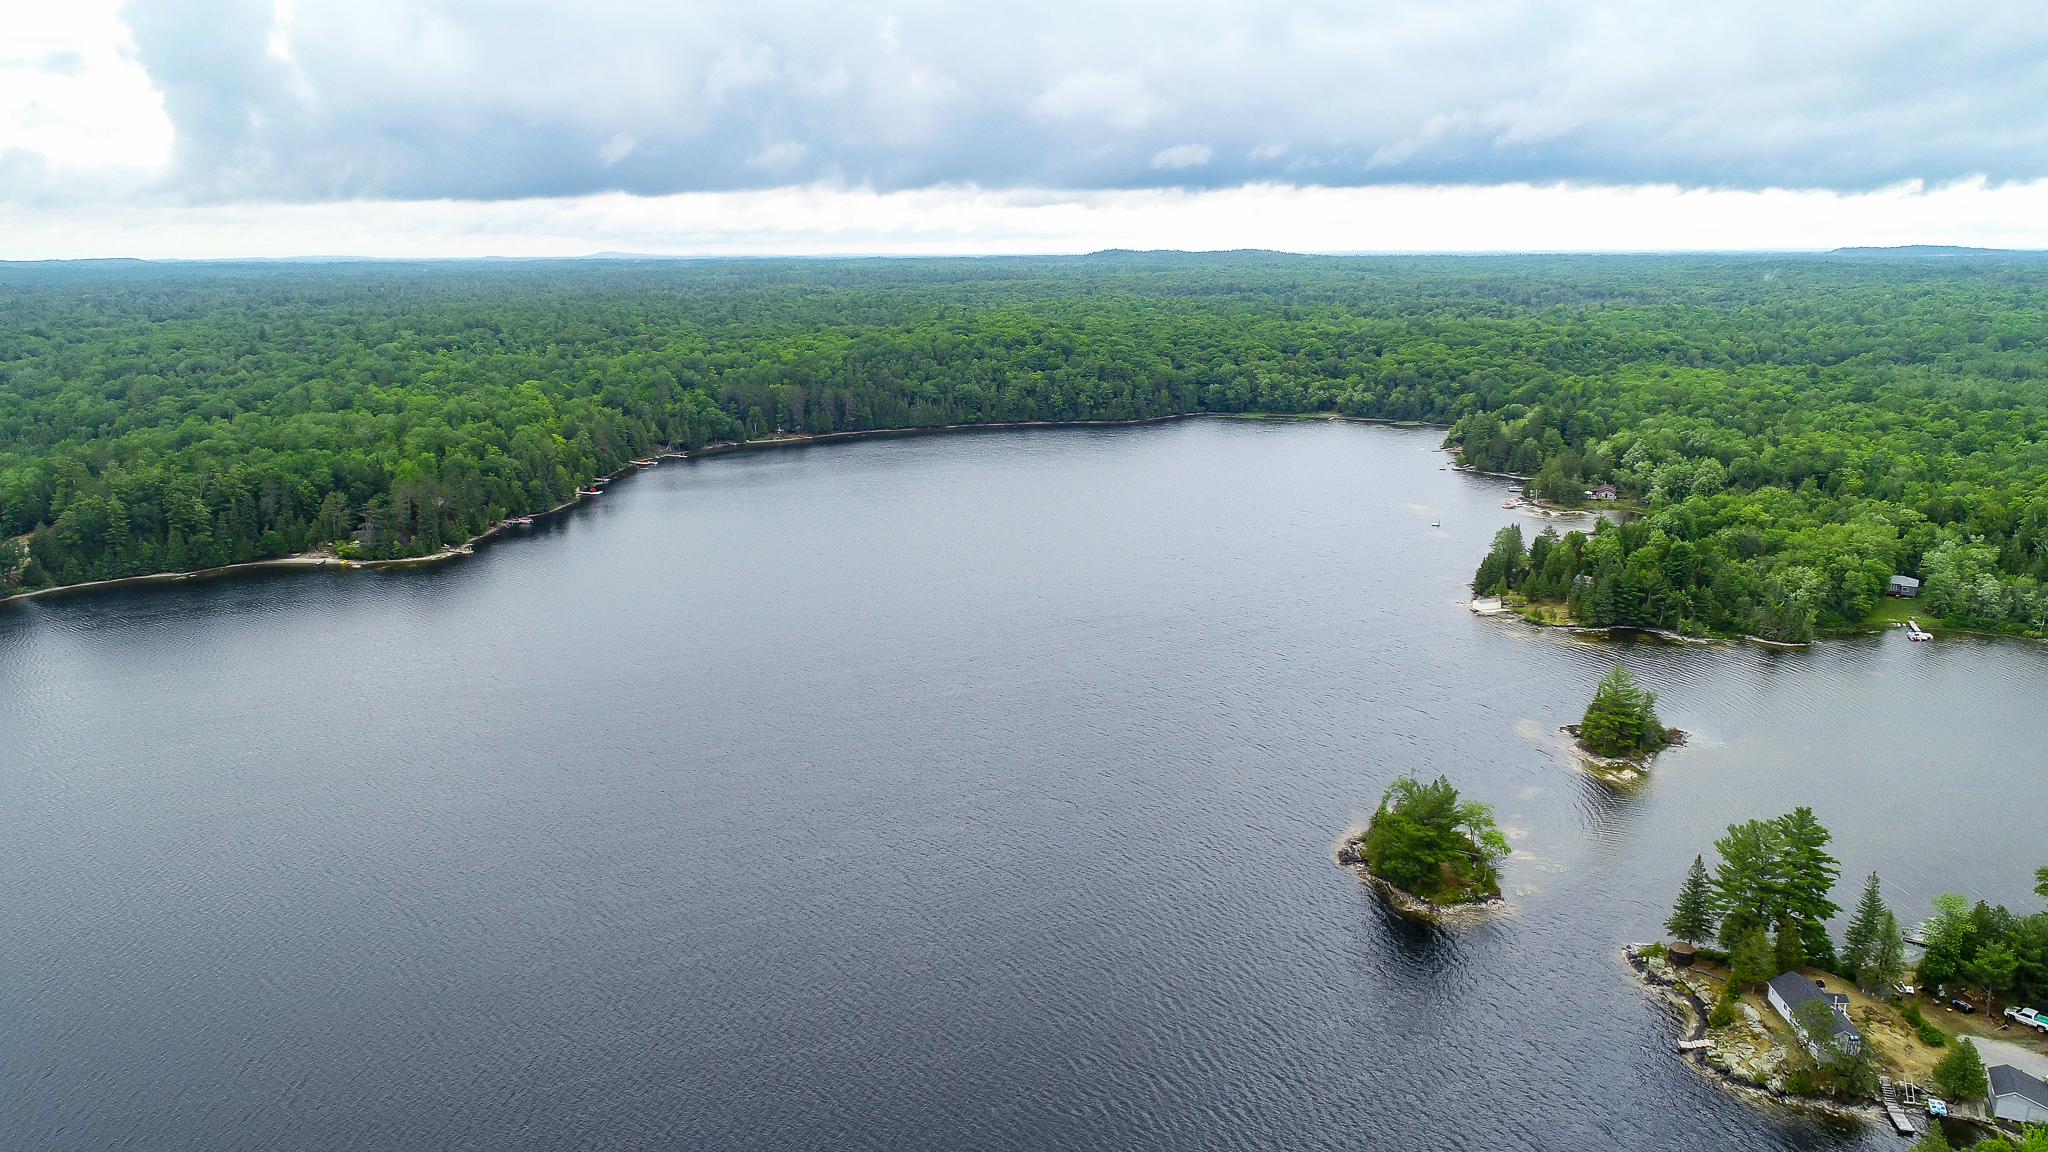
This is the image embedded in the online uploading tool that you can use with all Ricoh Theta 360 cameras:
Post from RICOH THETA. – Spherical Image – RICOH THETA
The problem with this process is that it’s quite clunky. You have to upload each photo to the site, then set it to Little Planet, then, if you want to keep photo editing, screen grab it and bring it back down to the desktop. If I’m trying to make a stop motion film out of over 300 photos, making Little Planets this way isn’t going to scale.
The solution was to find a way to create similar appearance in Adobe Photoshop and then batch process all the photos into a little planet format. Instructables has a just such a tutorial. The long and the short of the process is: stretch the photos into a square, flip them and the use a polar coordinates distortion tool to ‘wrap’ the square photo around the centre of the image. The end result isn’t quite as nuanced as Ricoh’s online little planet geometry, which is specifically designed for the details of the Theta camera. It’d be nice if Ricoh shared that geometry so people could duplicate the process in other software.
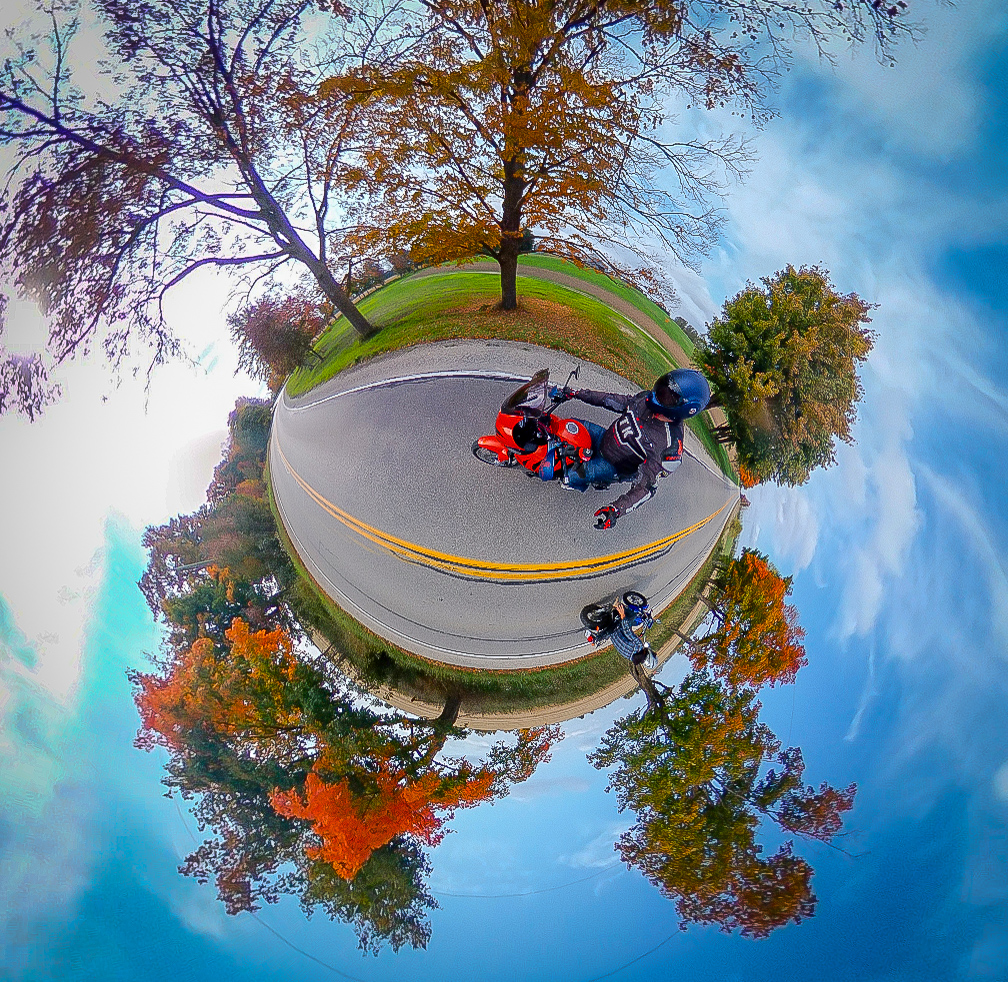
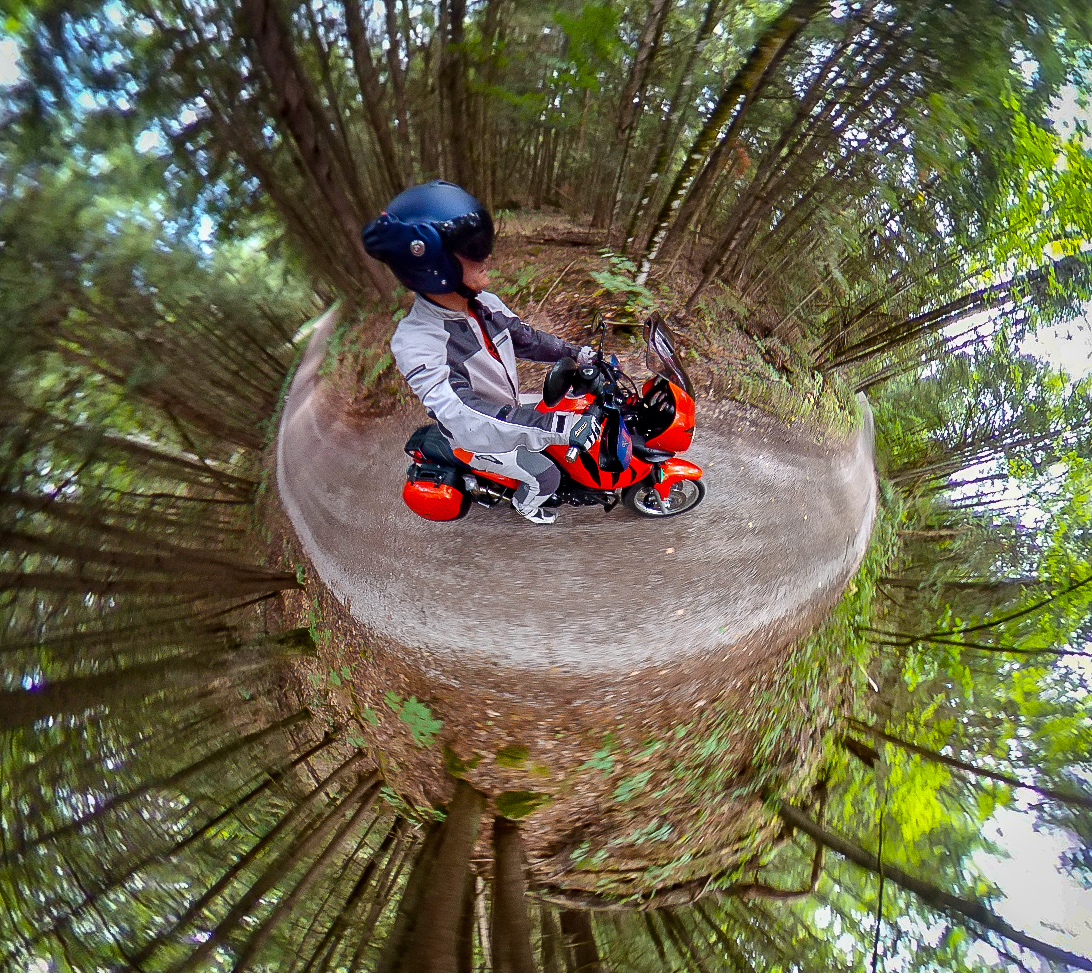
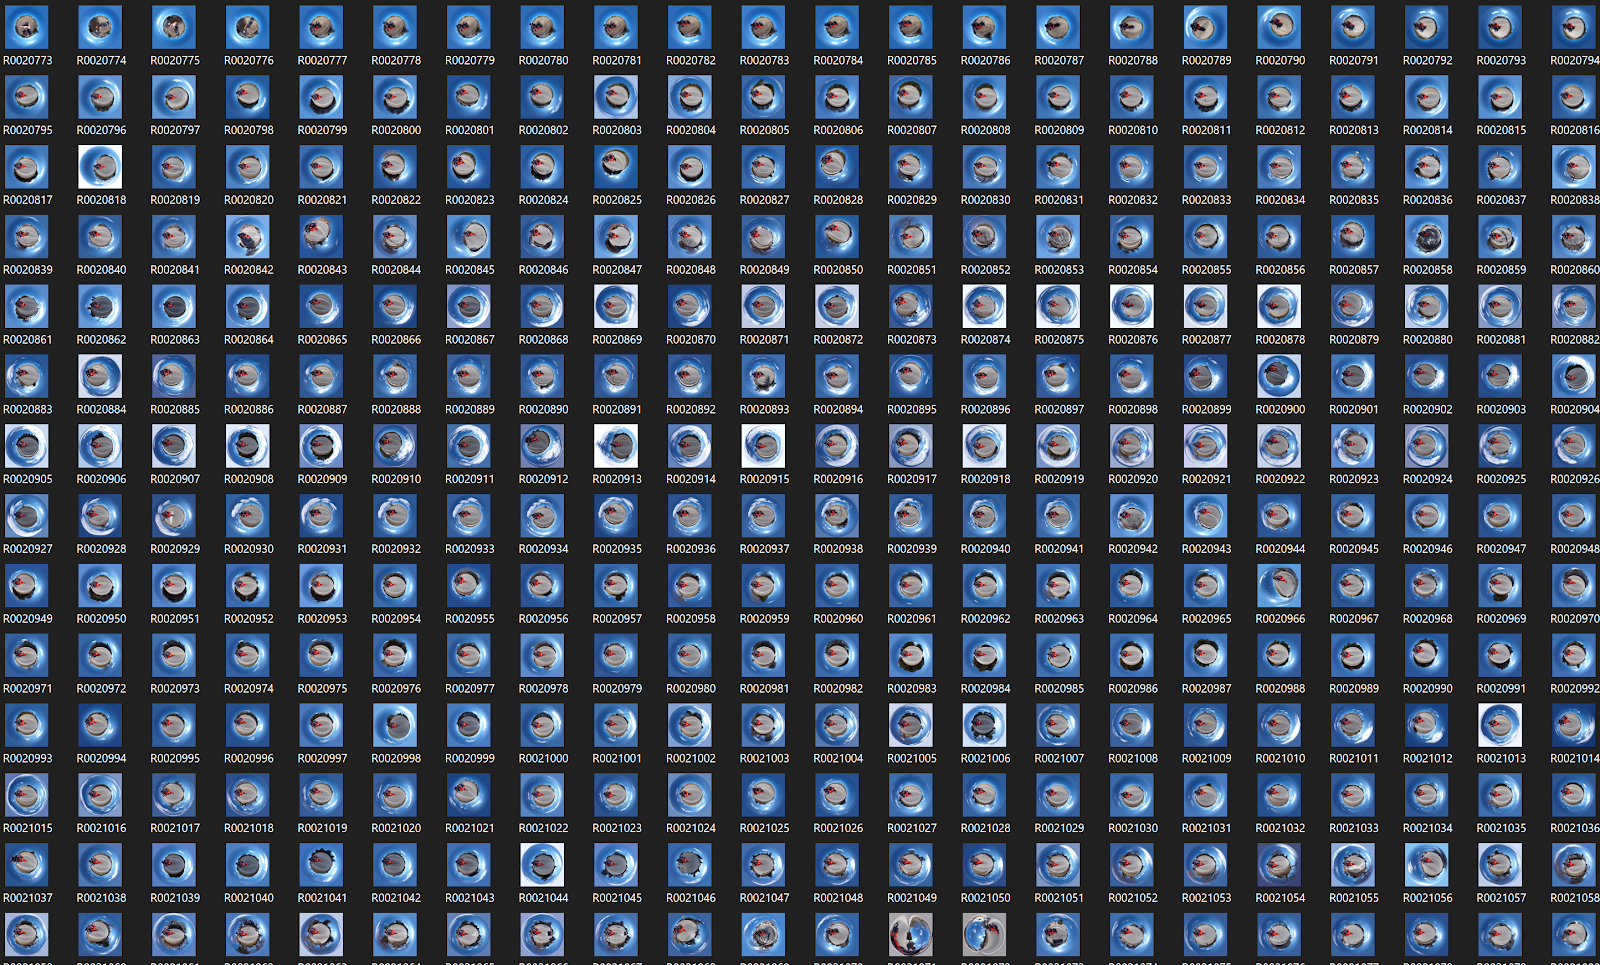 |
| Lots of batch processed little planets! |
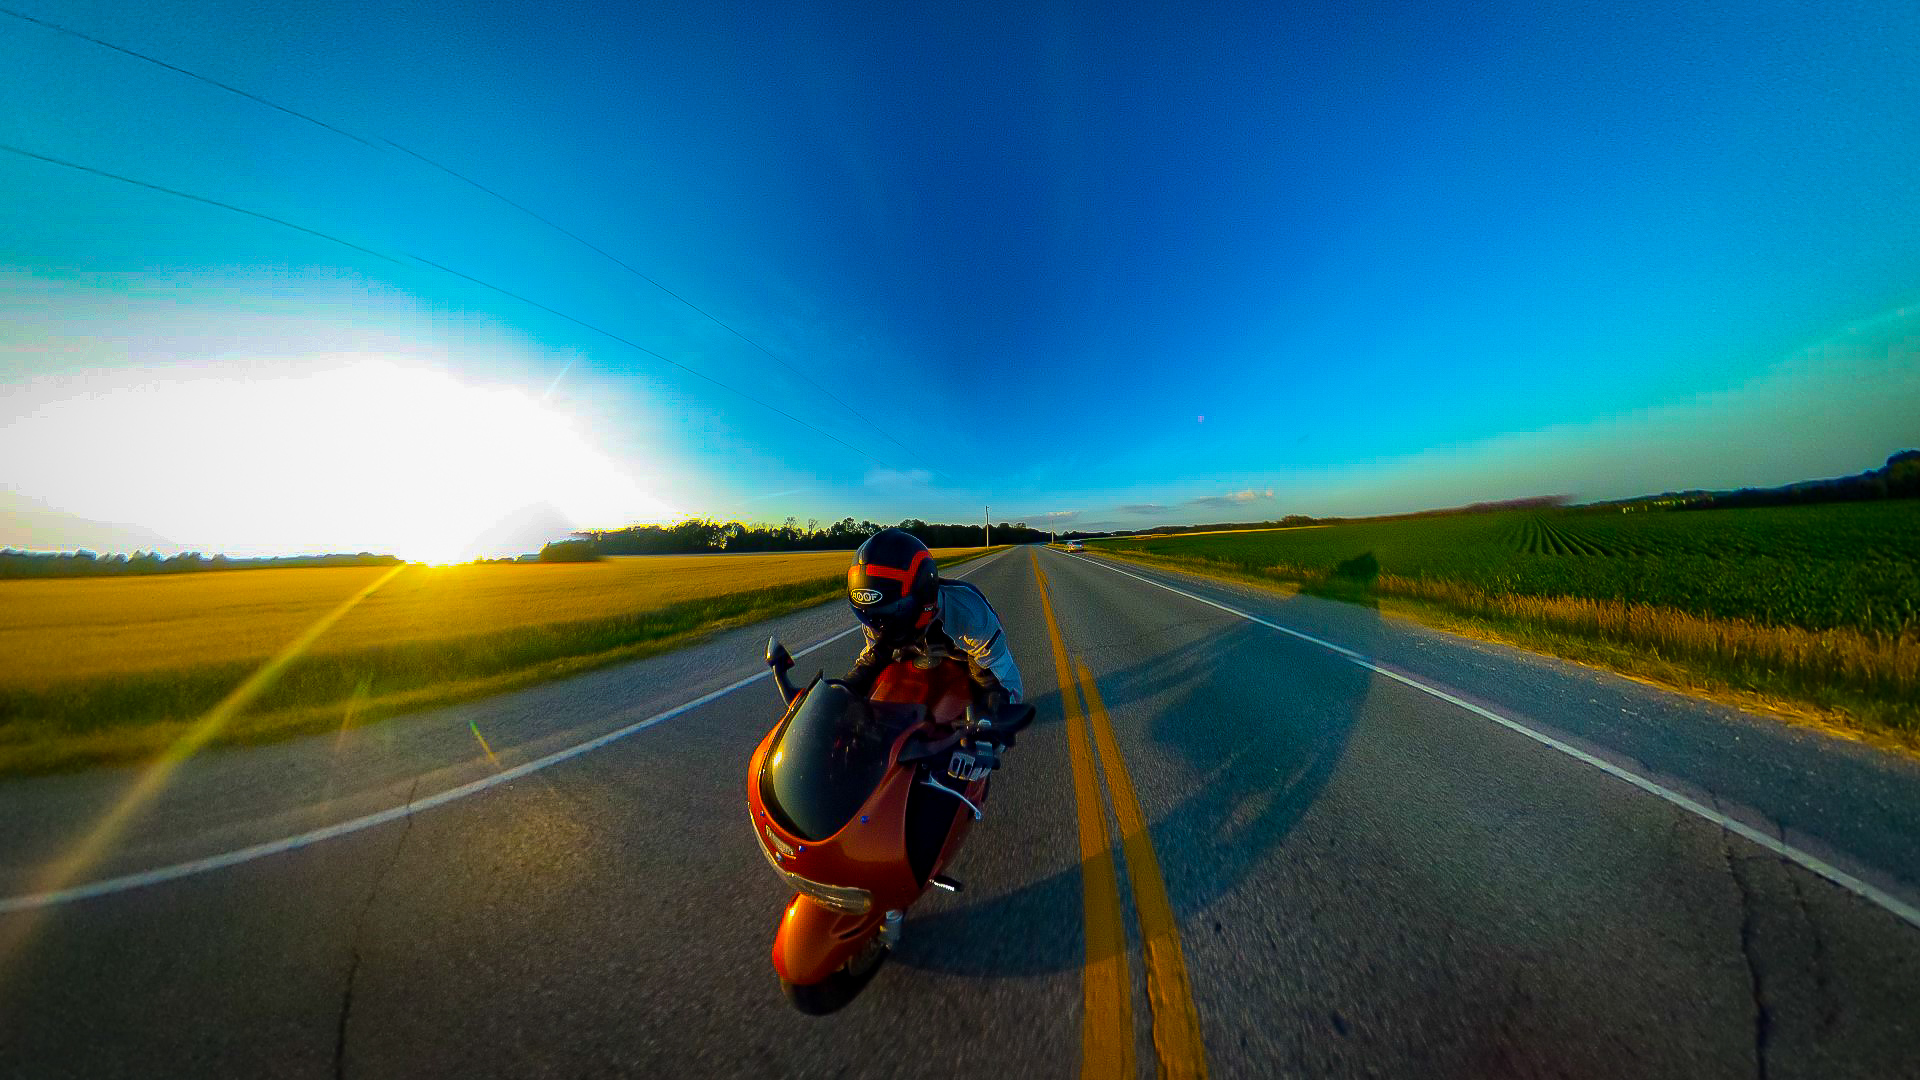
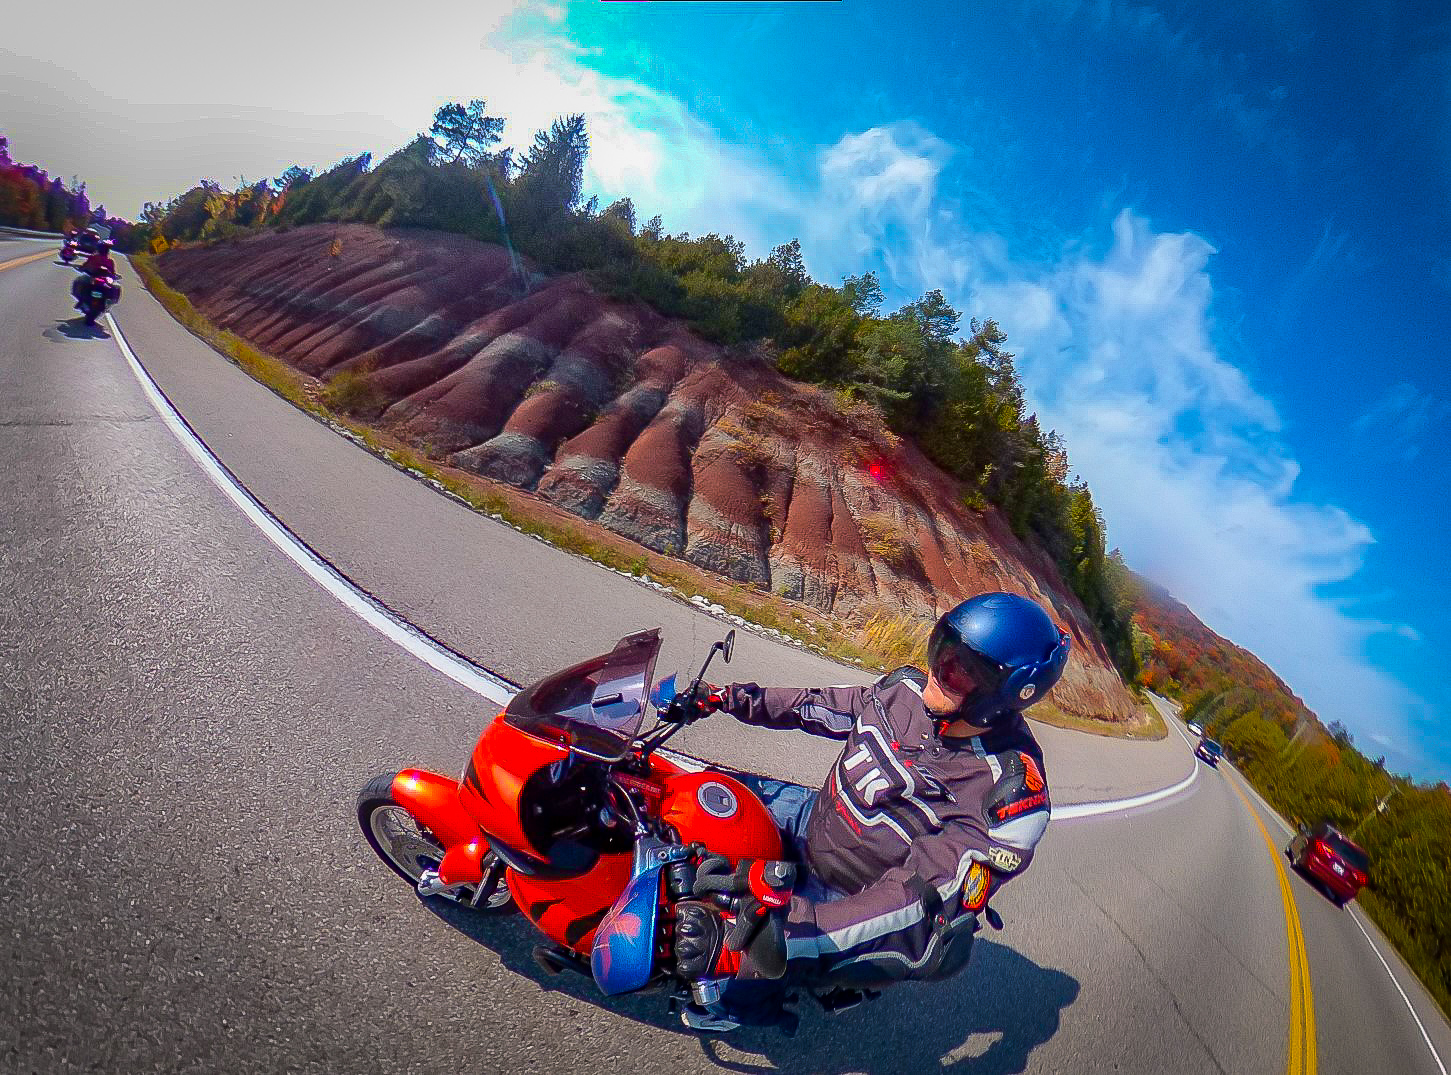
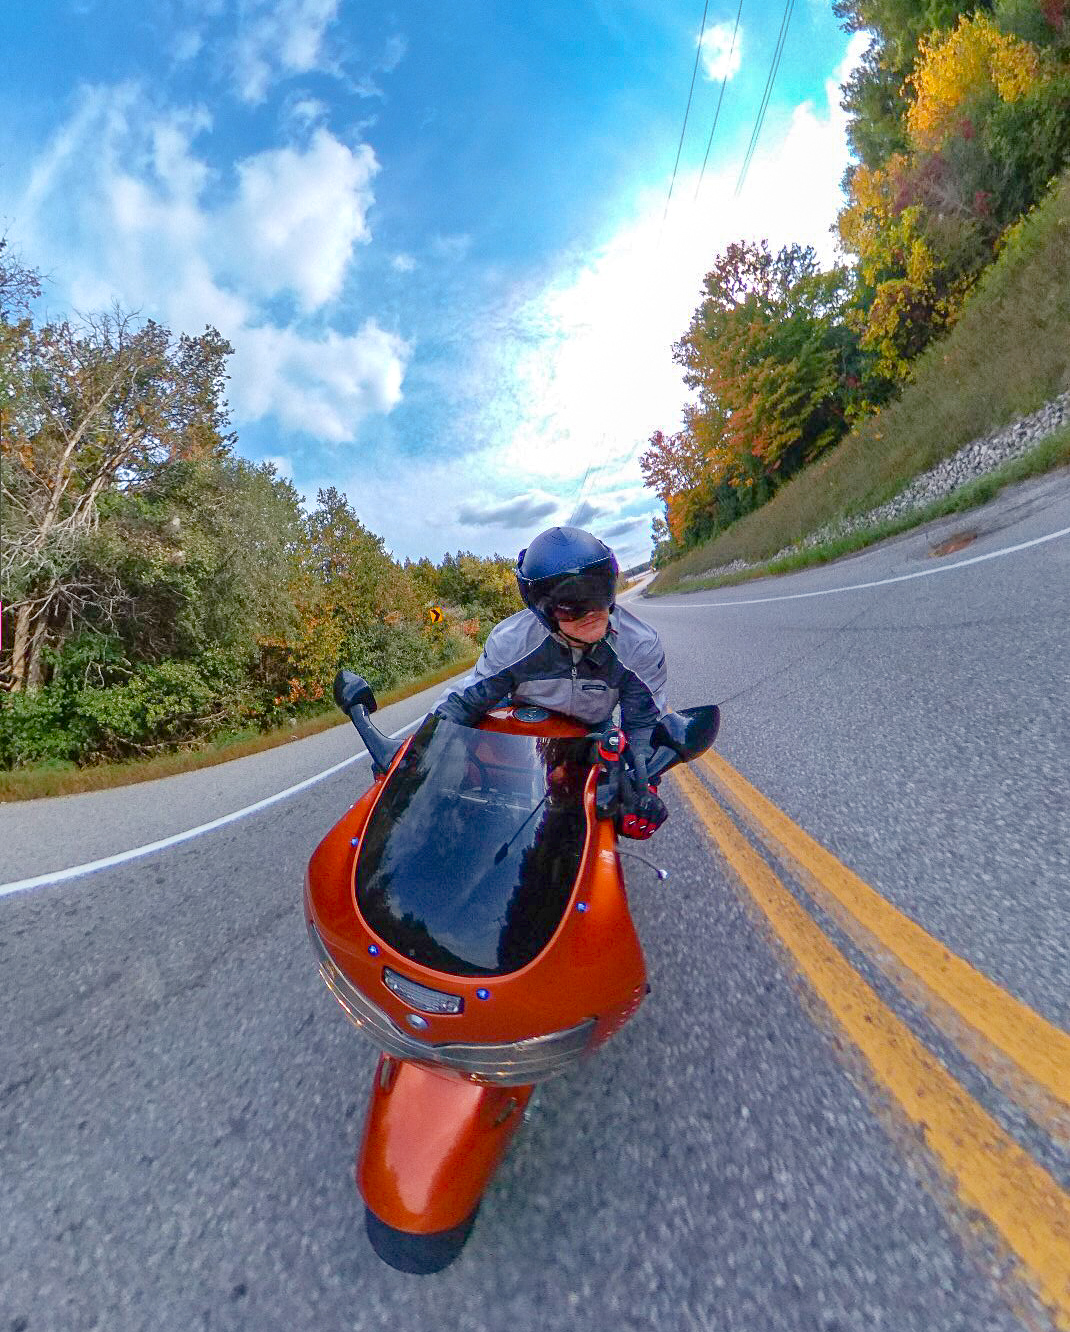
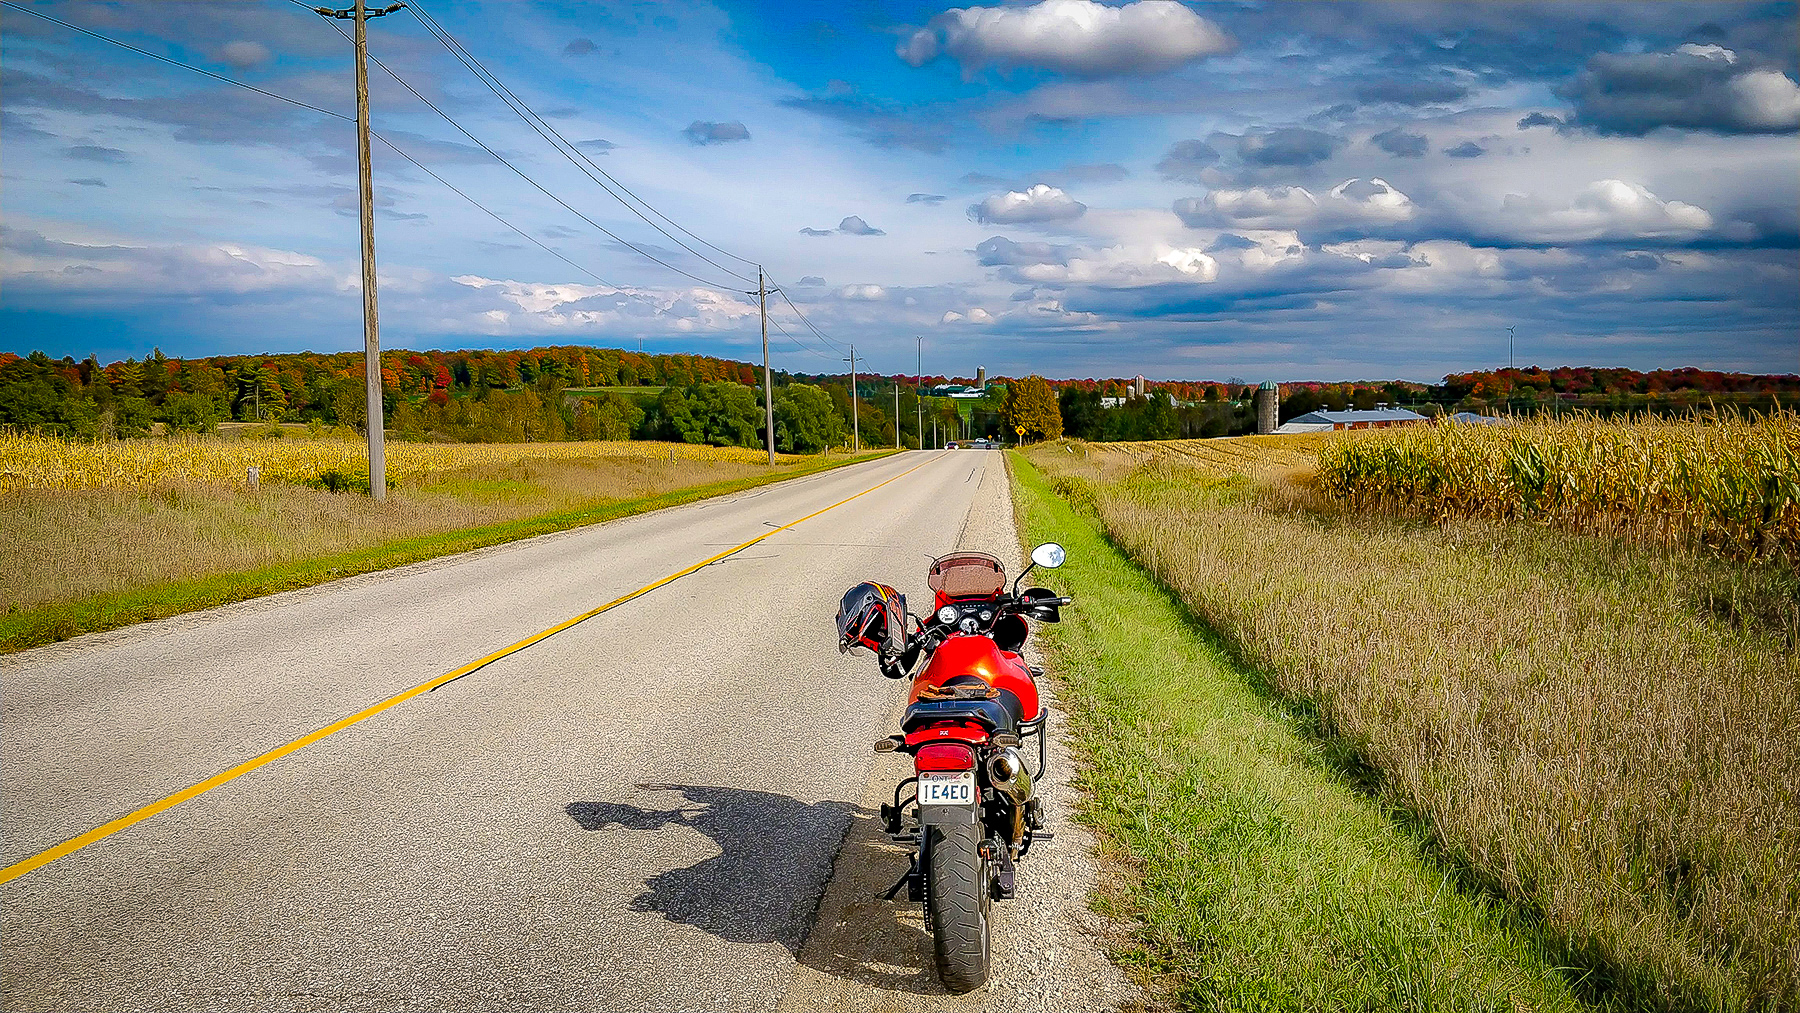
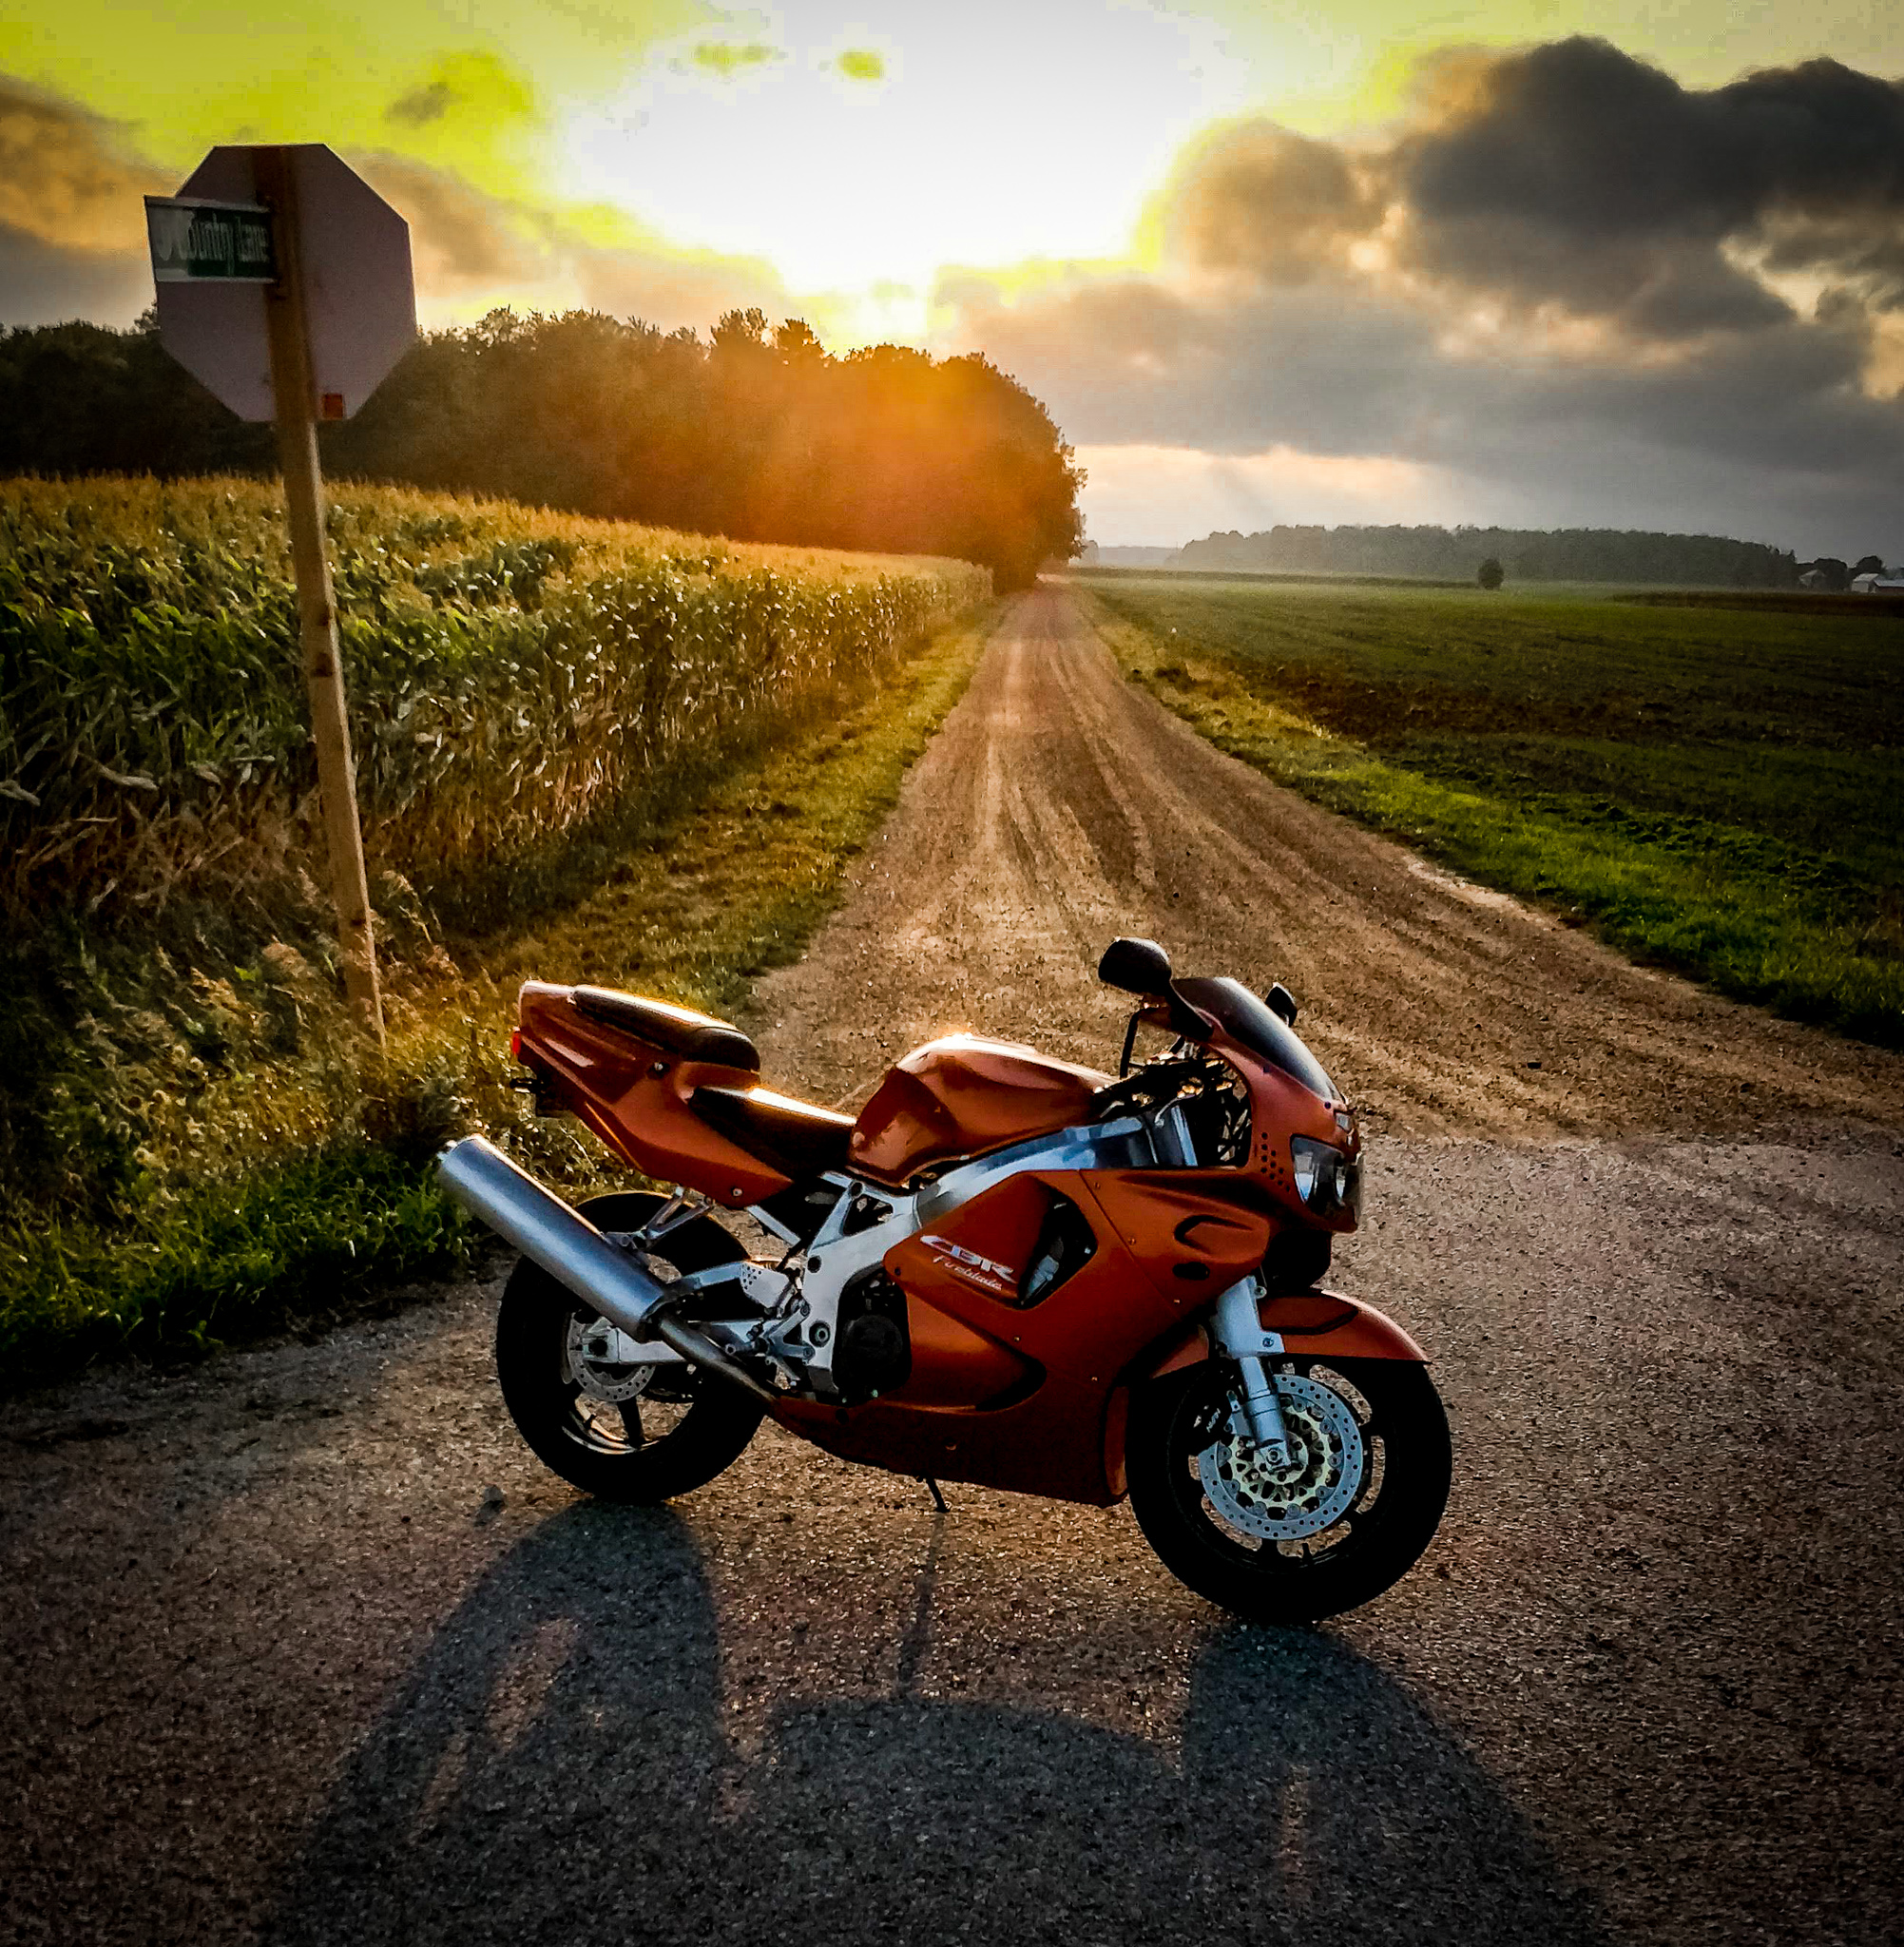
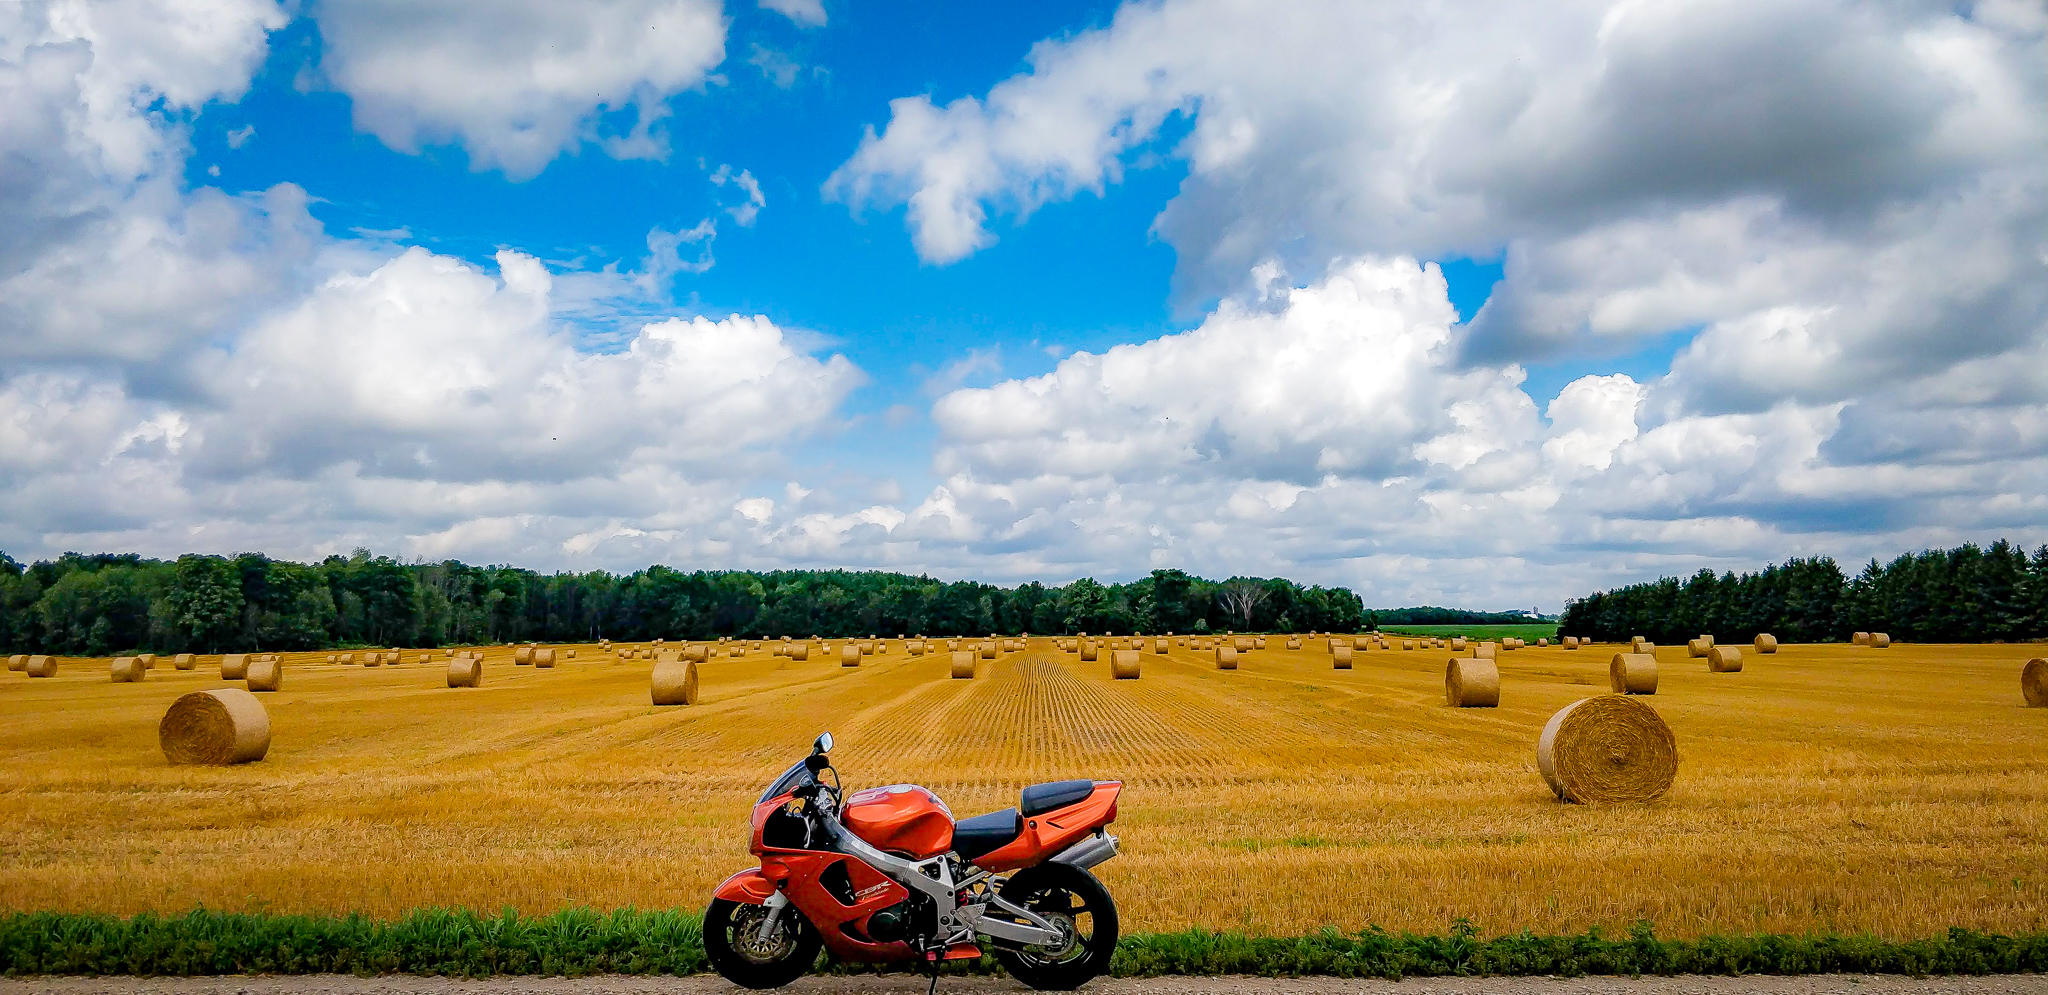
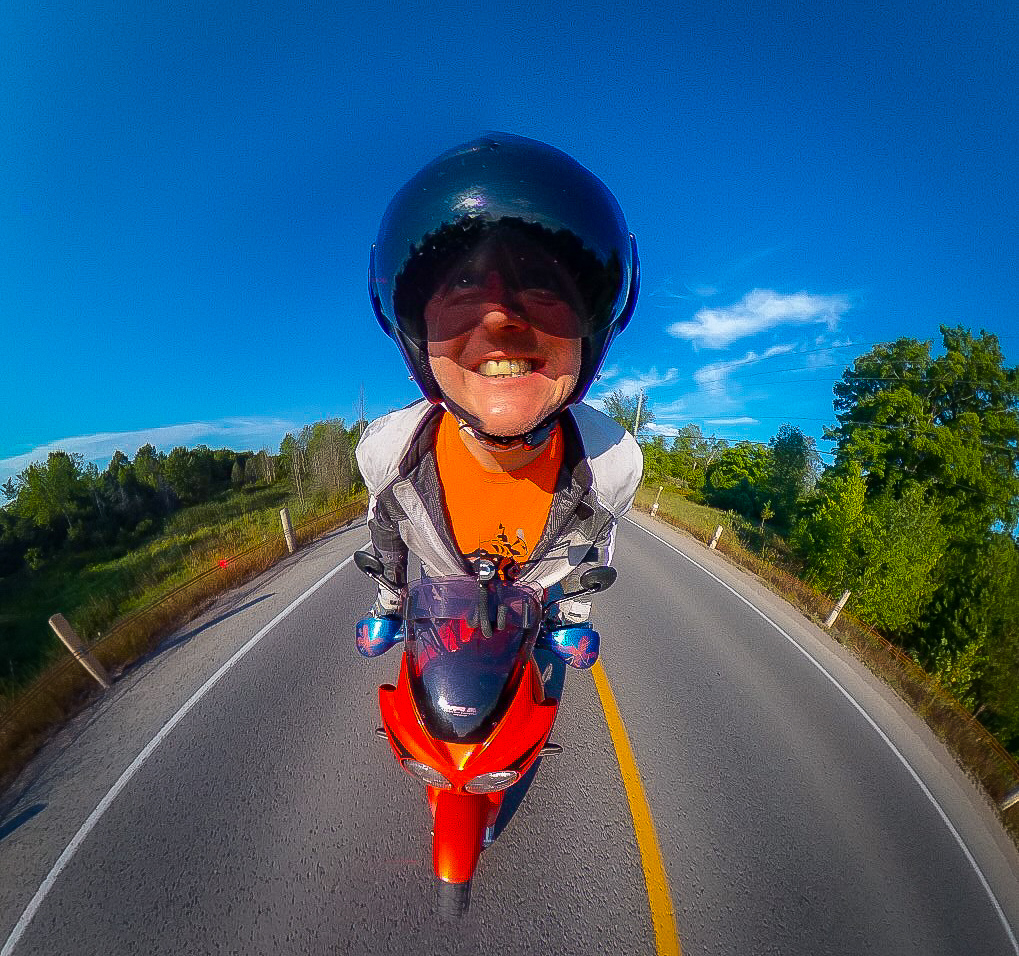
I recorded those Instructable actions using the Photoshop script recording tool and then ran the batch ran the script on 384 photos auto-taken on a recent motorcycle ride (the 360 camera is attached to the windscreen). The end result was 384 modified photos outputted to another directory. I then took the photos and dropped them into Adobe Premier Pro, where I set the intro and outro pictures to slightly longer times and the main body to 0.02 seconds per photo, creating the stop motion video effect.
I threw in the intro to Rush’s Red Barchetta as some dystopian future background music (we’re in the middle of social distancing due to COVID19). I fear it’s just a matter of time until travel itself becomes illegal, as it is in the song.
Here is the end result, a 26 second video containing over 380 individual photos batch processed in Photoshop and then edited into a short stop motion video:
The original footage was shrunk from 5376 x 5376 pixels (the ThetaV takes 5376 pixel wide panoramas and I made them square, remember?) to 1000×1000 pixels. My logic there was a 1080p video is 1920×1080 pixels, so 1000×1000 pixels is almost 1080 wide.
from Blogger https://ift.tt/2xCD6cm
via IFTTT