I’d initially planned to do a rolling restoration of the 1971 Triumph Bonneville project, but the state of the engine and my desire to get it back to a place where I can enjoy an updated, dependable but mechanically sympathetic restoration (I want the bike to retain its patina, but I also want it to be dependable) made a rolling restoration impractical. The engine is lined up for a new 750cc head and electronic ignition system, but before all of that I have to get the frame and wheels sorted out so that I can put the upgraded engine back into a sorted rolling chassis.
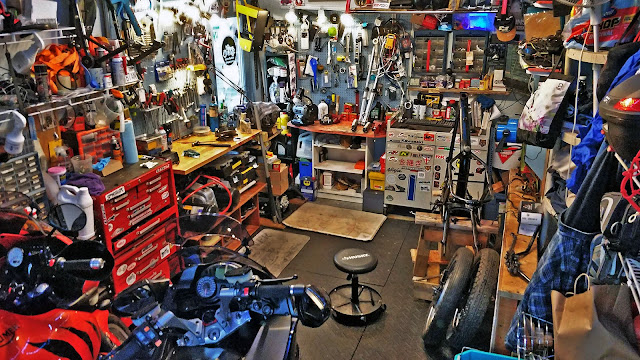
To that end, it was finally time to take it to pieces, which also gave me a lot of space back in the one car garage once the bike stand was stacked to the side:
 |
| The frame out means I don’t need to fill half the garage with the bike stand. |
 |
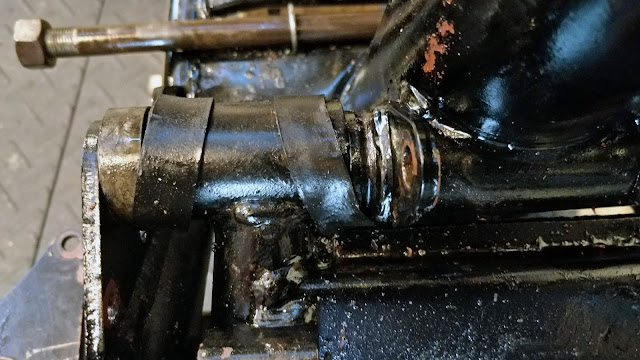
| Black rubber bands cover the frame to swingarm joints (to prevent water getting in?). |
 |
| Way more space in the garage with the Bonnie in pieces. |
With the bike in pieces, I’m restoring all parts that I can reuse. This usually involves some WD40, a toothbrush or wire brush depending on how filthy it is, and then a dip in a hot ultrasonic bath for small pieces to get them back to fresh.
 |
| The front wheel Smiths speedometer. |
 |
| Into the rear brakes. Like everything else on this old bike they are much simpler than modern hydraulic brakes. |
 |
| Bringing old parts back from the brink is very satisfying. |
 |
| The entire rear brake system – the brake lever is so long because it is the only mechanical advantage you have when applying the rear brakes. Instead of using hydraulics to amplify your push on the pedal, the old Bonnie is a simple mechanical system. You press the brake lever which pulls that long metal bar which rotates the top of the drums, pressing them into outside of the drum. No hydraulics, and I bet you have to press that lever like you mean it to lock the rear wheel. |
from Blogger https://ift.tt/G2Wkbgj
via IFTTT


